
Pie Dough
Making pie dough is a magical thing. You start with such a few basic ingredients and end up with a marvelous wonder. Many times in the past, I would get very stressed making pie dough. I was worried that the butter would get to warm, that it would clump together during preparation, or that the dough wouldn’t pull together at the end. This was all just silly because the dough would always turn out well enough. Now I approach the dough-making as a meditation. Breathing in I know that the butter will not clump, breathing out I gently and quickly chop at the mixture with my pastry dough cutter. Breathing in I know that the dough will pull together, breathing out I know it will be beautiful and delicious in the end. As I measure, as I mix, as I roll and as I sculpt the edges, I am imbuing my pie dough with love and gratitude for the ability to share this yumminess with those I love. Join me in making pie and sharing some of your love.
What you’ll need:
1 large bowl with high walls
1 large soup spoon or medium stainless serving spoon
1 knife with straight edge
1 2-cup pyrex liquid measuring cup or small bowl with high walls
1 set measuring spoons
1 set graduated dry cup measures (including 1/4 cup and 1 cup), preferable made of stainless steel or heavy duty plastic
1 medium size cutting board
1 hand held pastry blender (or 2 long sharp knives)*
1 large sturdy rolling pin
Ingredients (Double this if you are making a double crusted pie or two single-crust pies):
1 1/4 cups unbleached all-purpose flour
1 Tbsp. sugar
1/4 tsp. salt
1/2 cup (usually this is one cube) cold unsalted butter
3-6 Tbsp. very, very cold water
Directions:
- Measure the flour. Over your work area, spoon the flour into the dry measuring cup so that it is heaping over the top. Then use the straight edge of a knife to carefully level off the top of the measuring cup, allowing excess flour to fall on work area (where excess flour will be needed to dust the work surface in preparation for rolling out the dough). Carefully add the precisely measured flour to large high walled mixing bowl.
- Add the sugar and salt to the flour and mix well.
- Get the ice water ready. I like to do this by taking a high walled bowl or a pyrex 2-cup liquid measuring cup and placing six or so ice cubes in it then filling with 1 cup drinking water. Place the 1 Tablespoon measuring spoon at the ready.
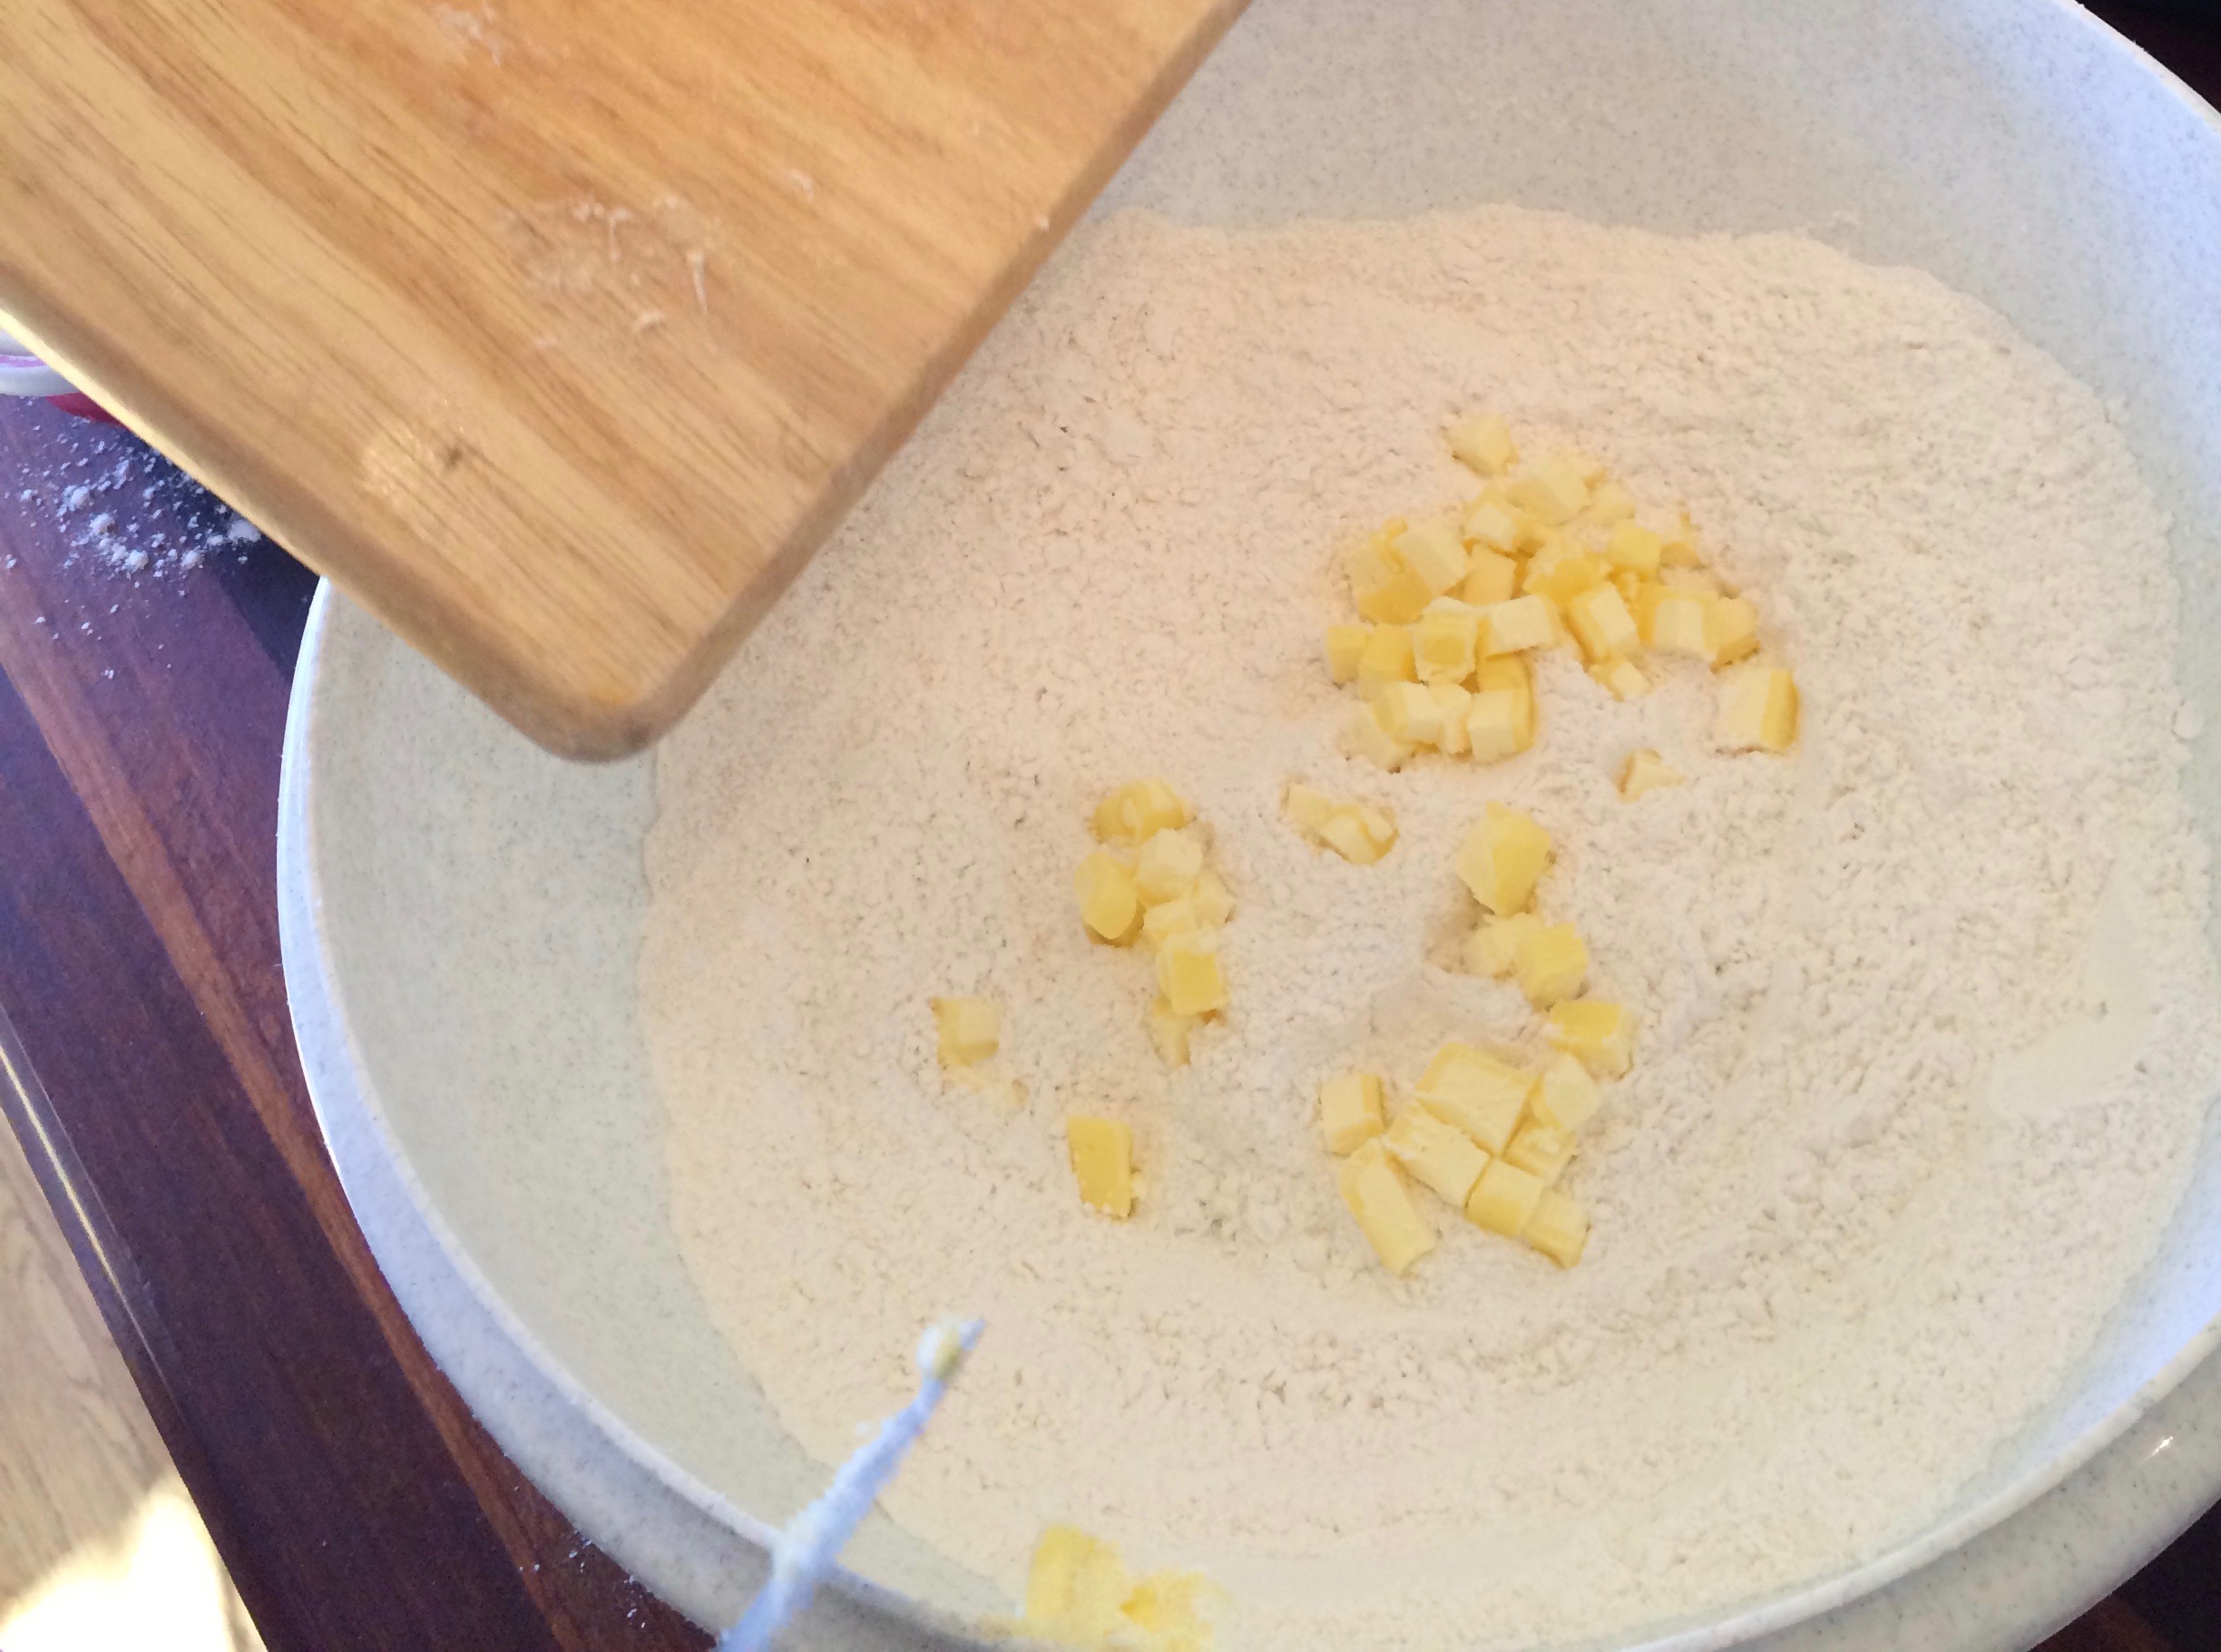
- Get cold butter out of the fridge and cut into 1/4 inch cubes. Since the butter will best mix in with the flour when it is as cold as possible, take one cube out at time if making a double crust batch. Unwrap the butter and place on medium size cutting board. Taking care to touch the butter with your warm fingers as little as possible (or if at all from this point), use a sharp chefs knife to slice a 1/4 inch piece from cube, then make three cuts horizontally and three or so cuts vertically to create little 1/4″ cubes. Do this several times. Then, using the dull side of the knife, scrape the cubes into the large bowl with the flour. Using the flour spoon or a fork, gently toss the 1/4″ cubes to coat them with flour. Go back to slicing and cubing the butter and continue in batches until all the butter is in little cubes and dusted with flour in the bowl. (Another option could be to place the little cubes in freezer in batches until all cubes are cut, and then add to flour. Thanks for that idea, Erin!)
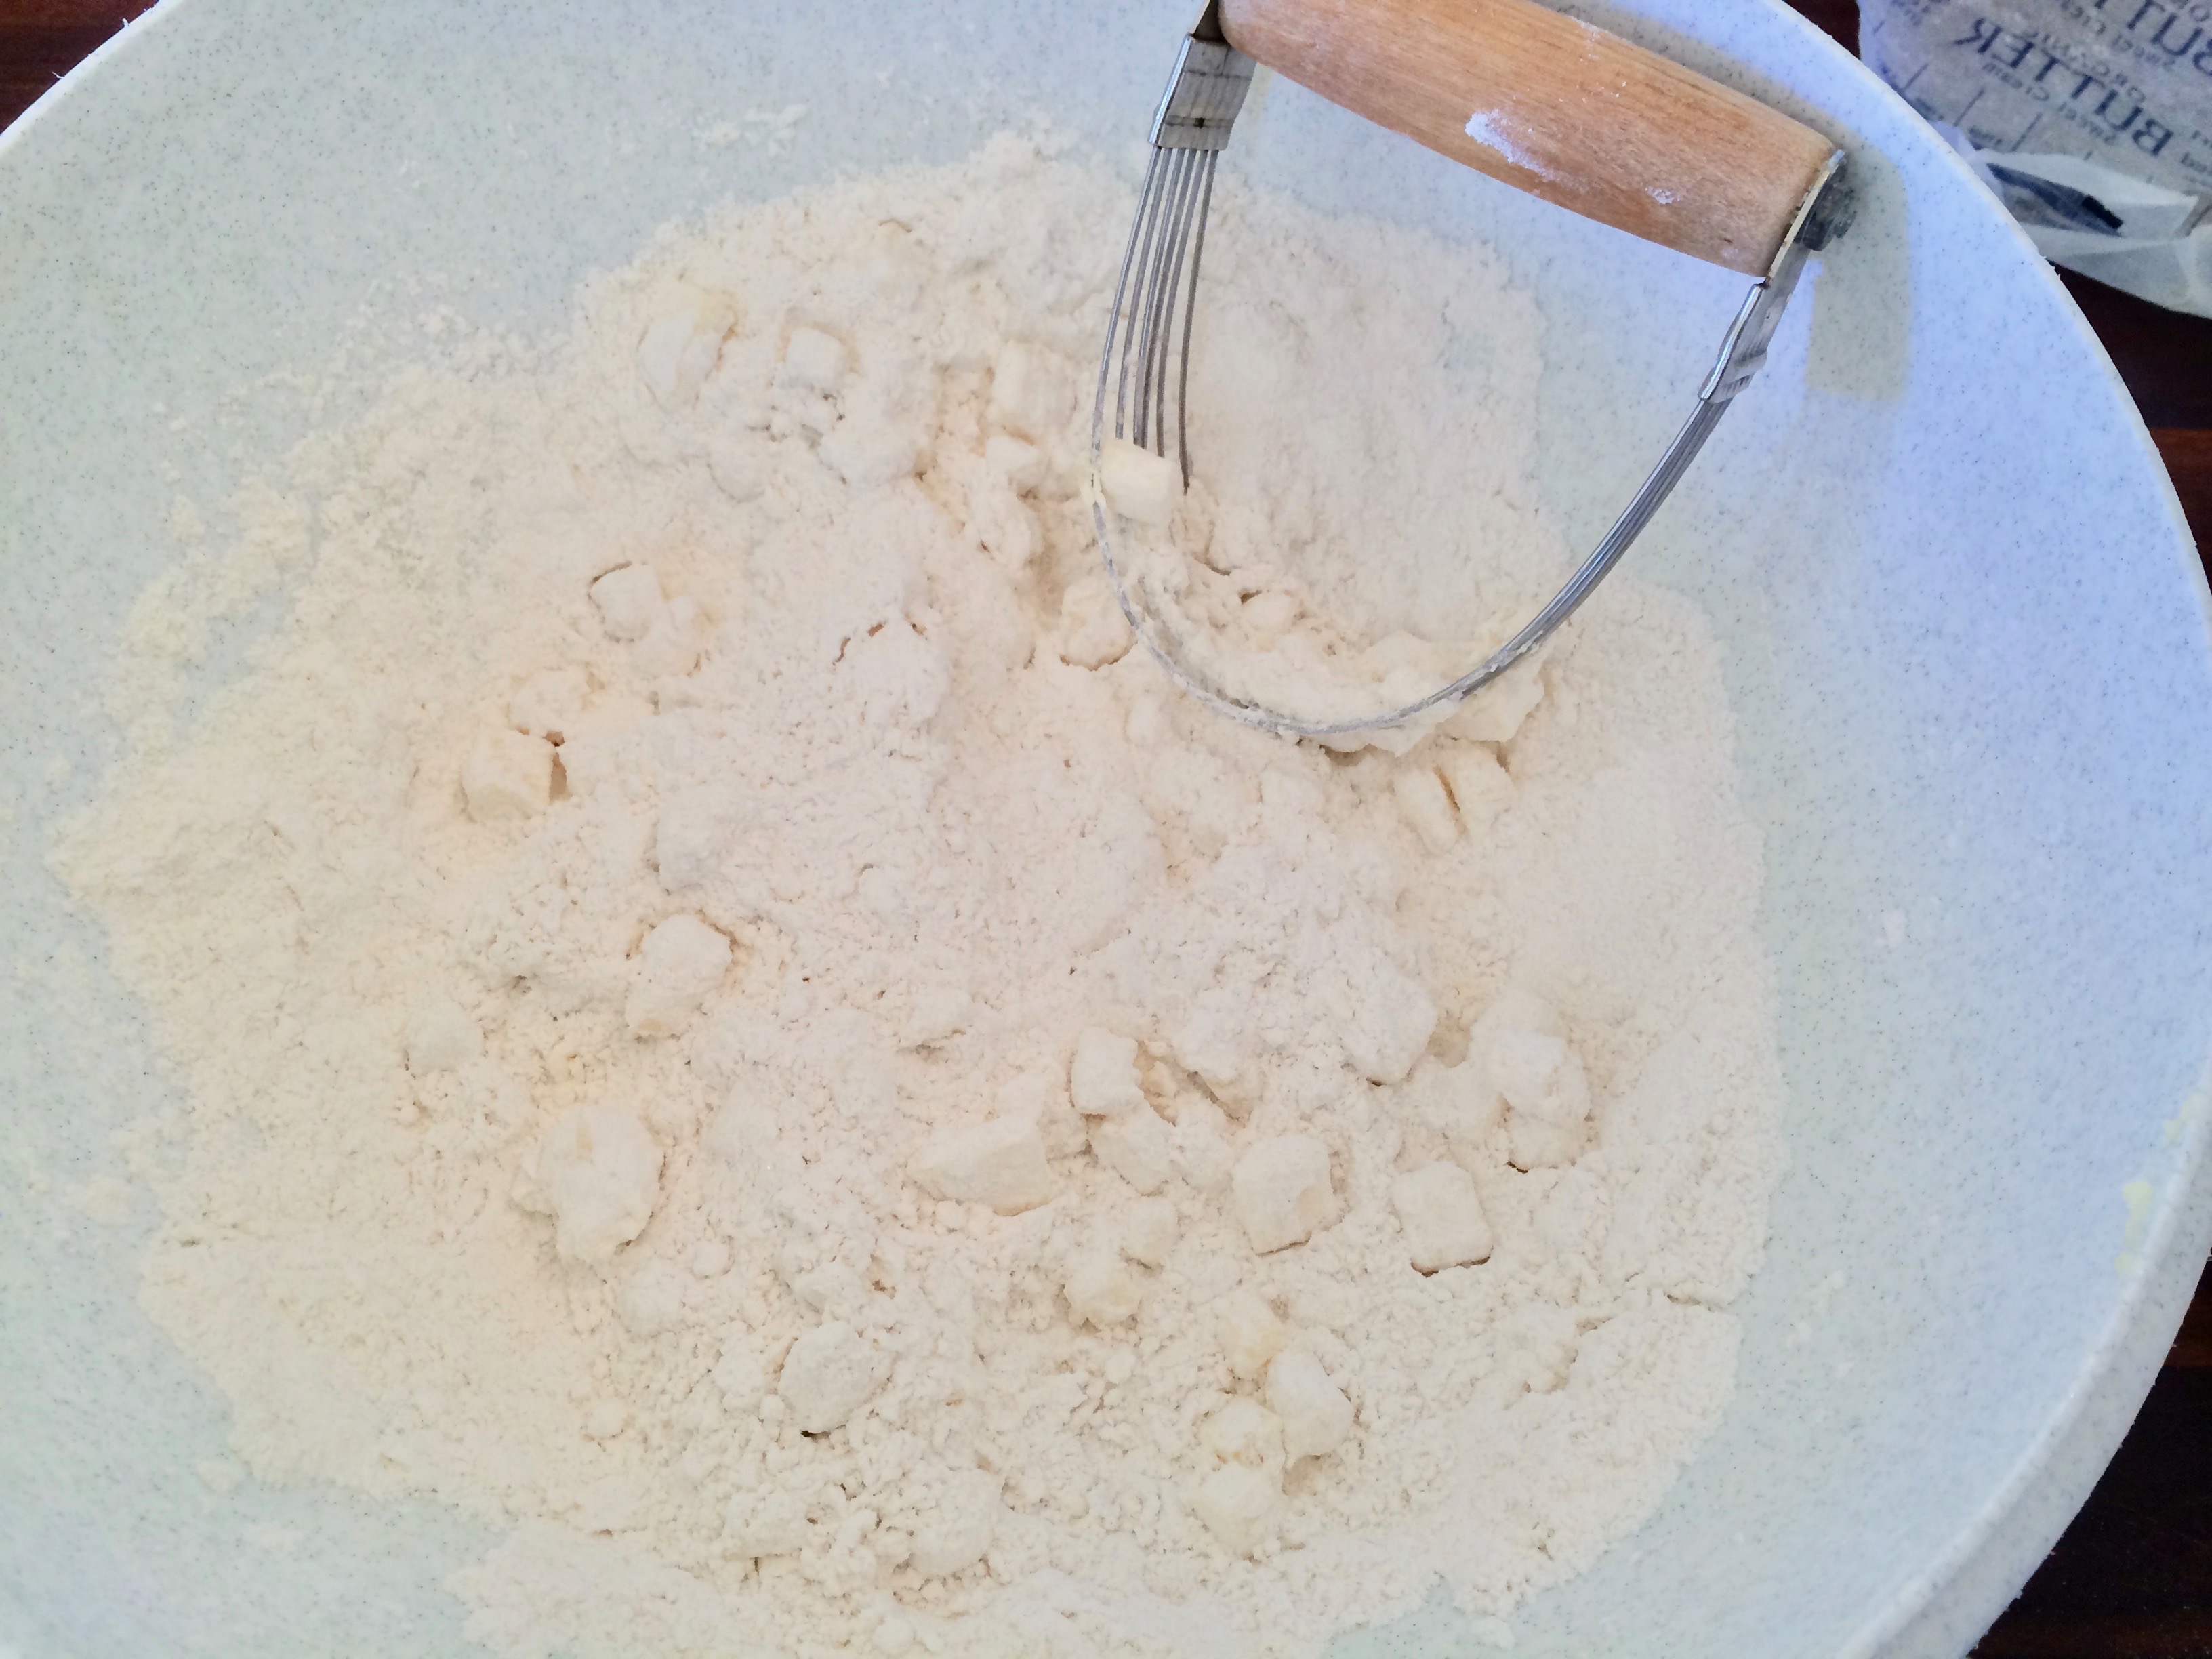
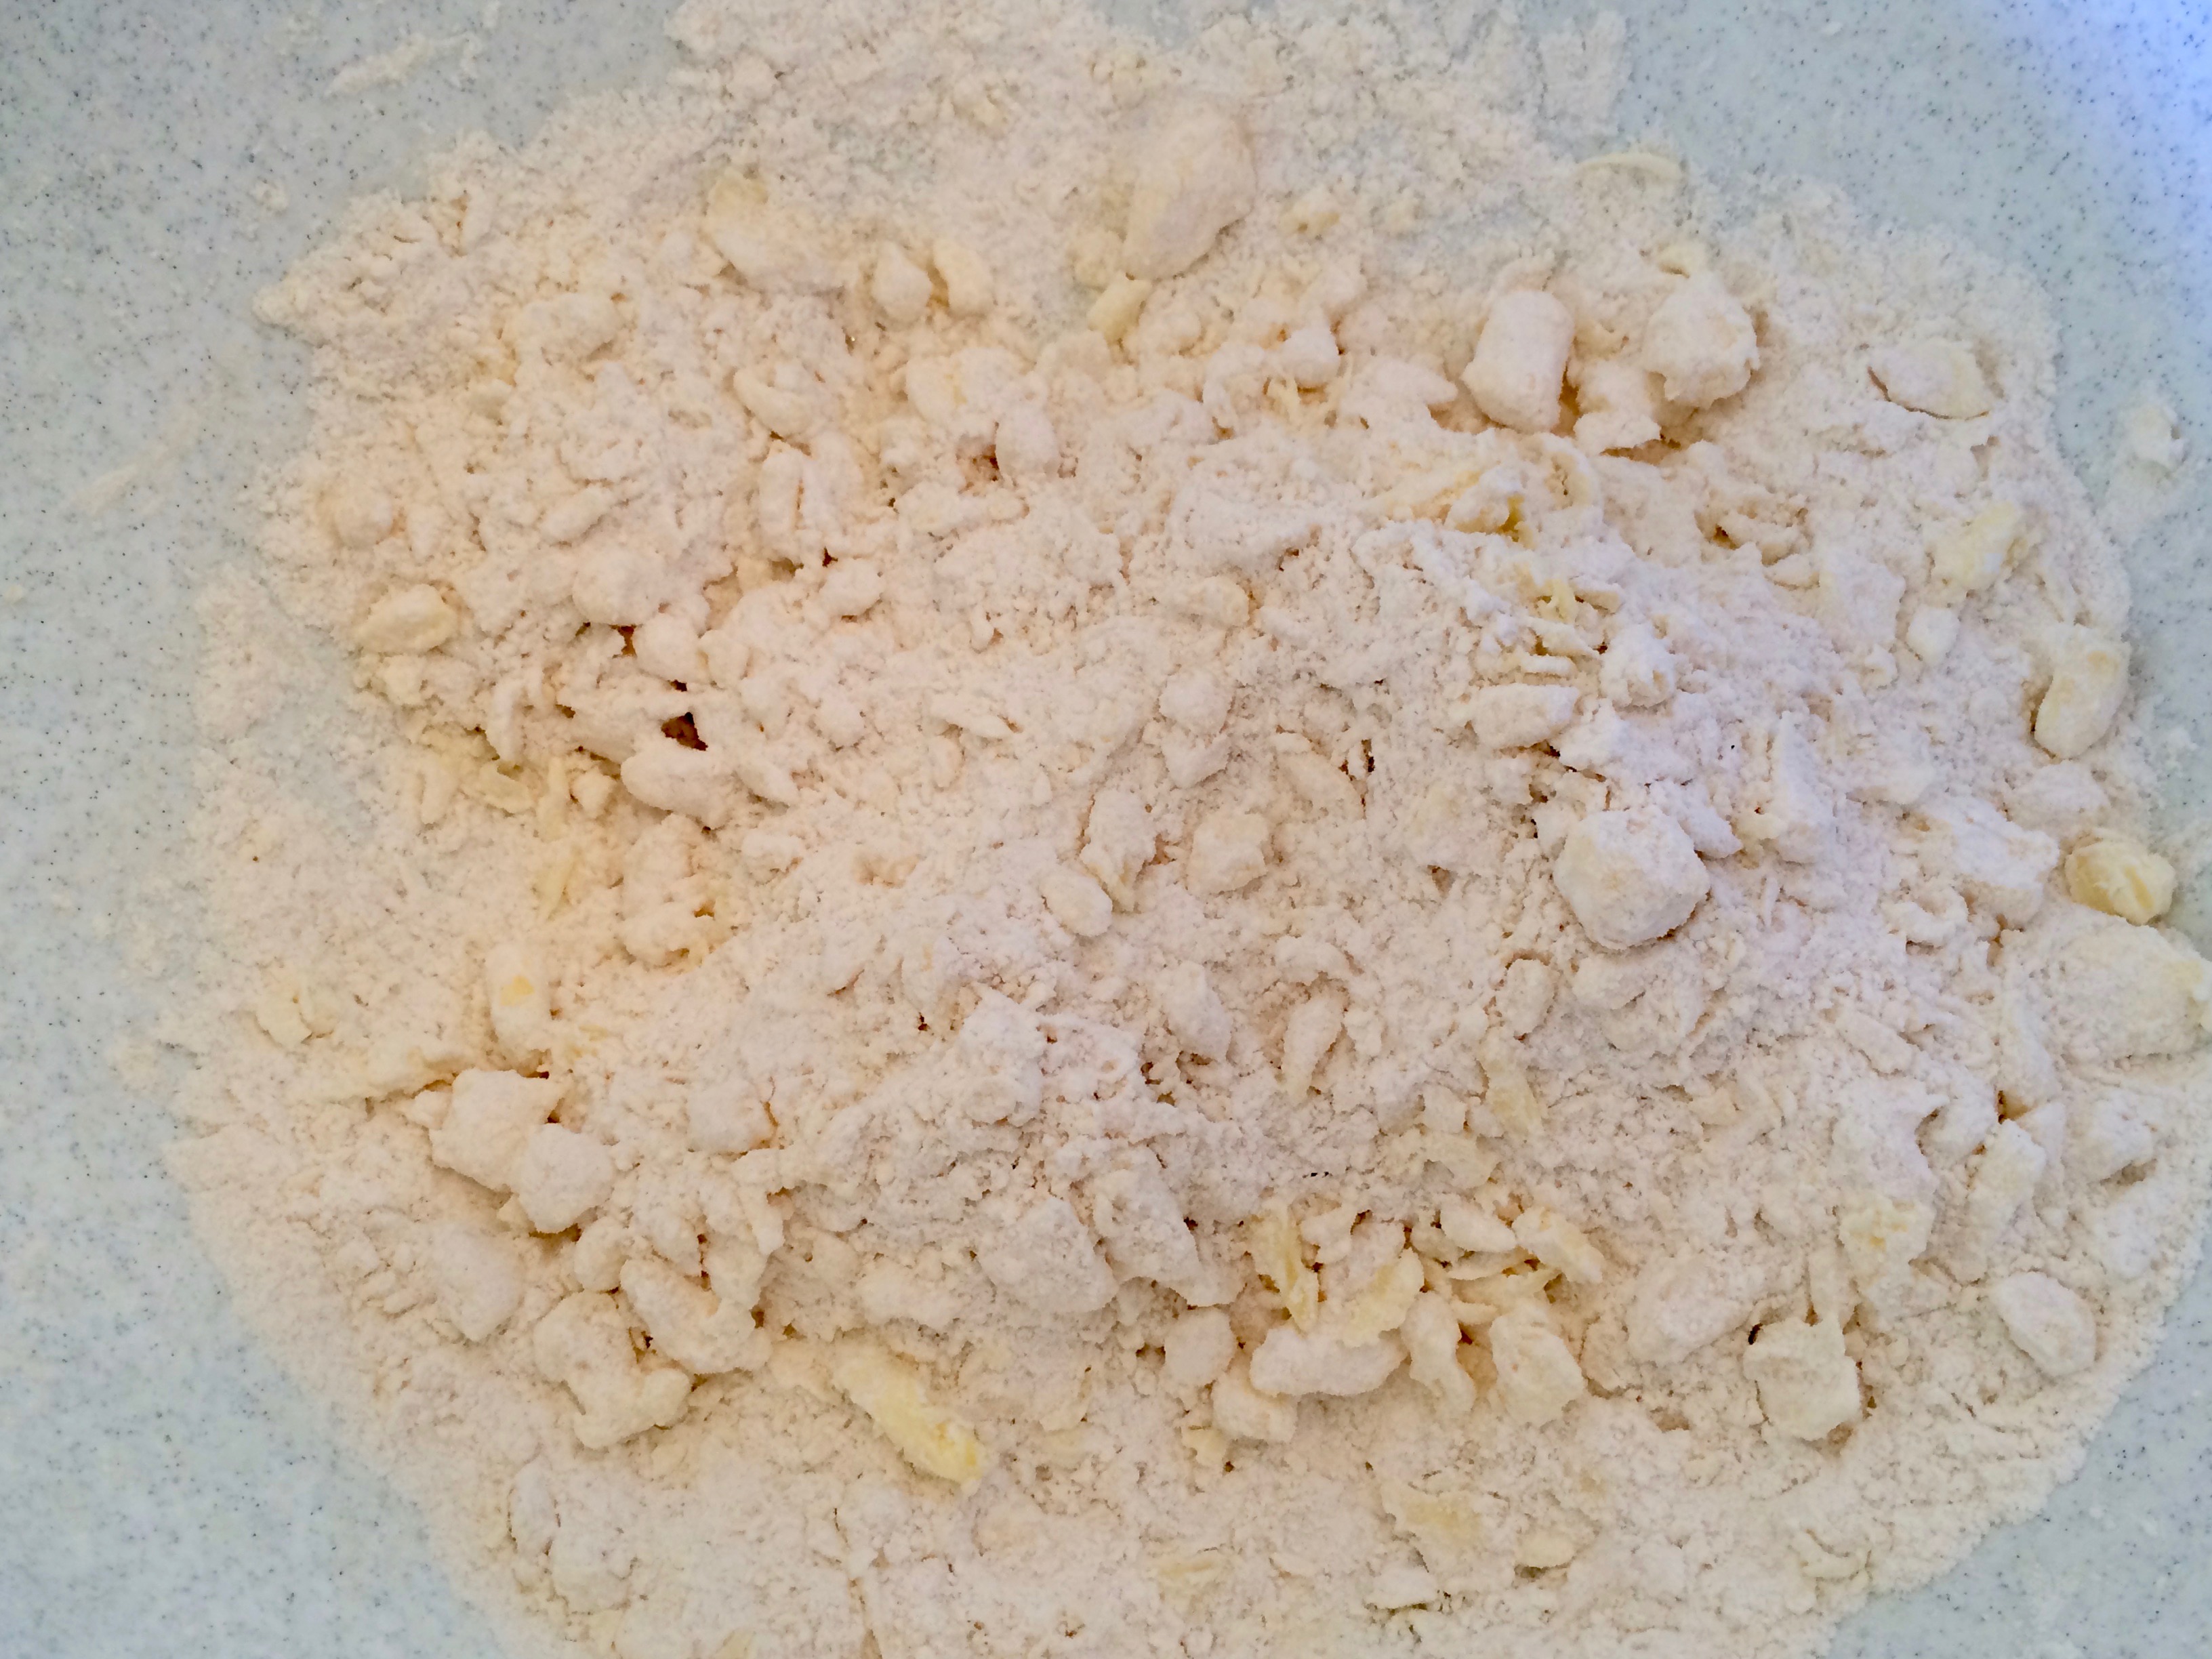
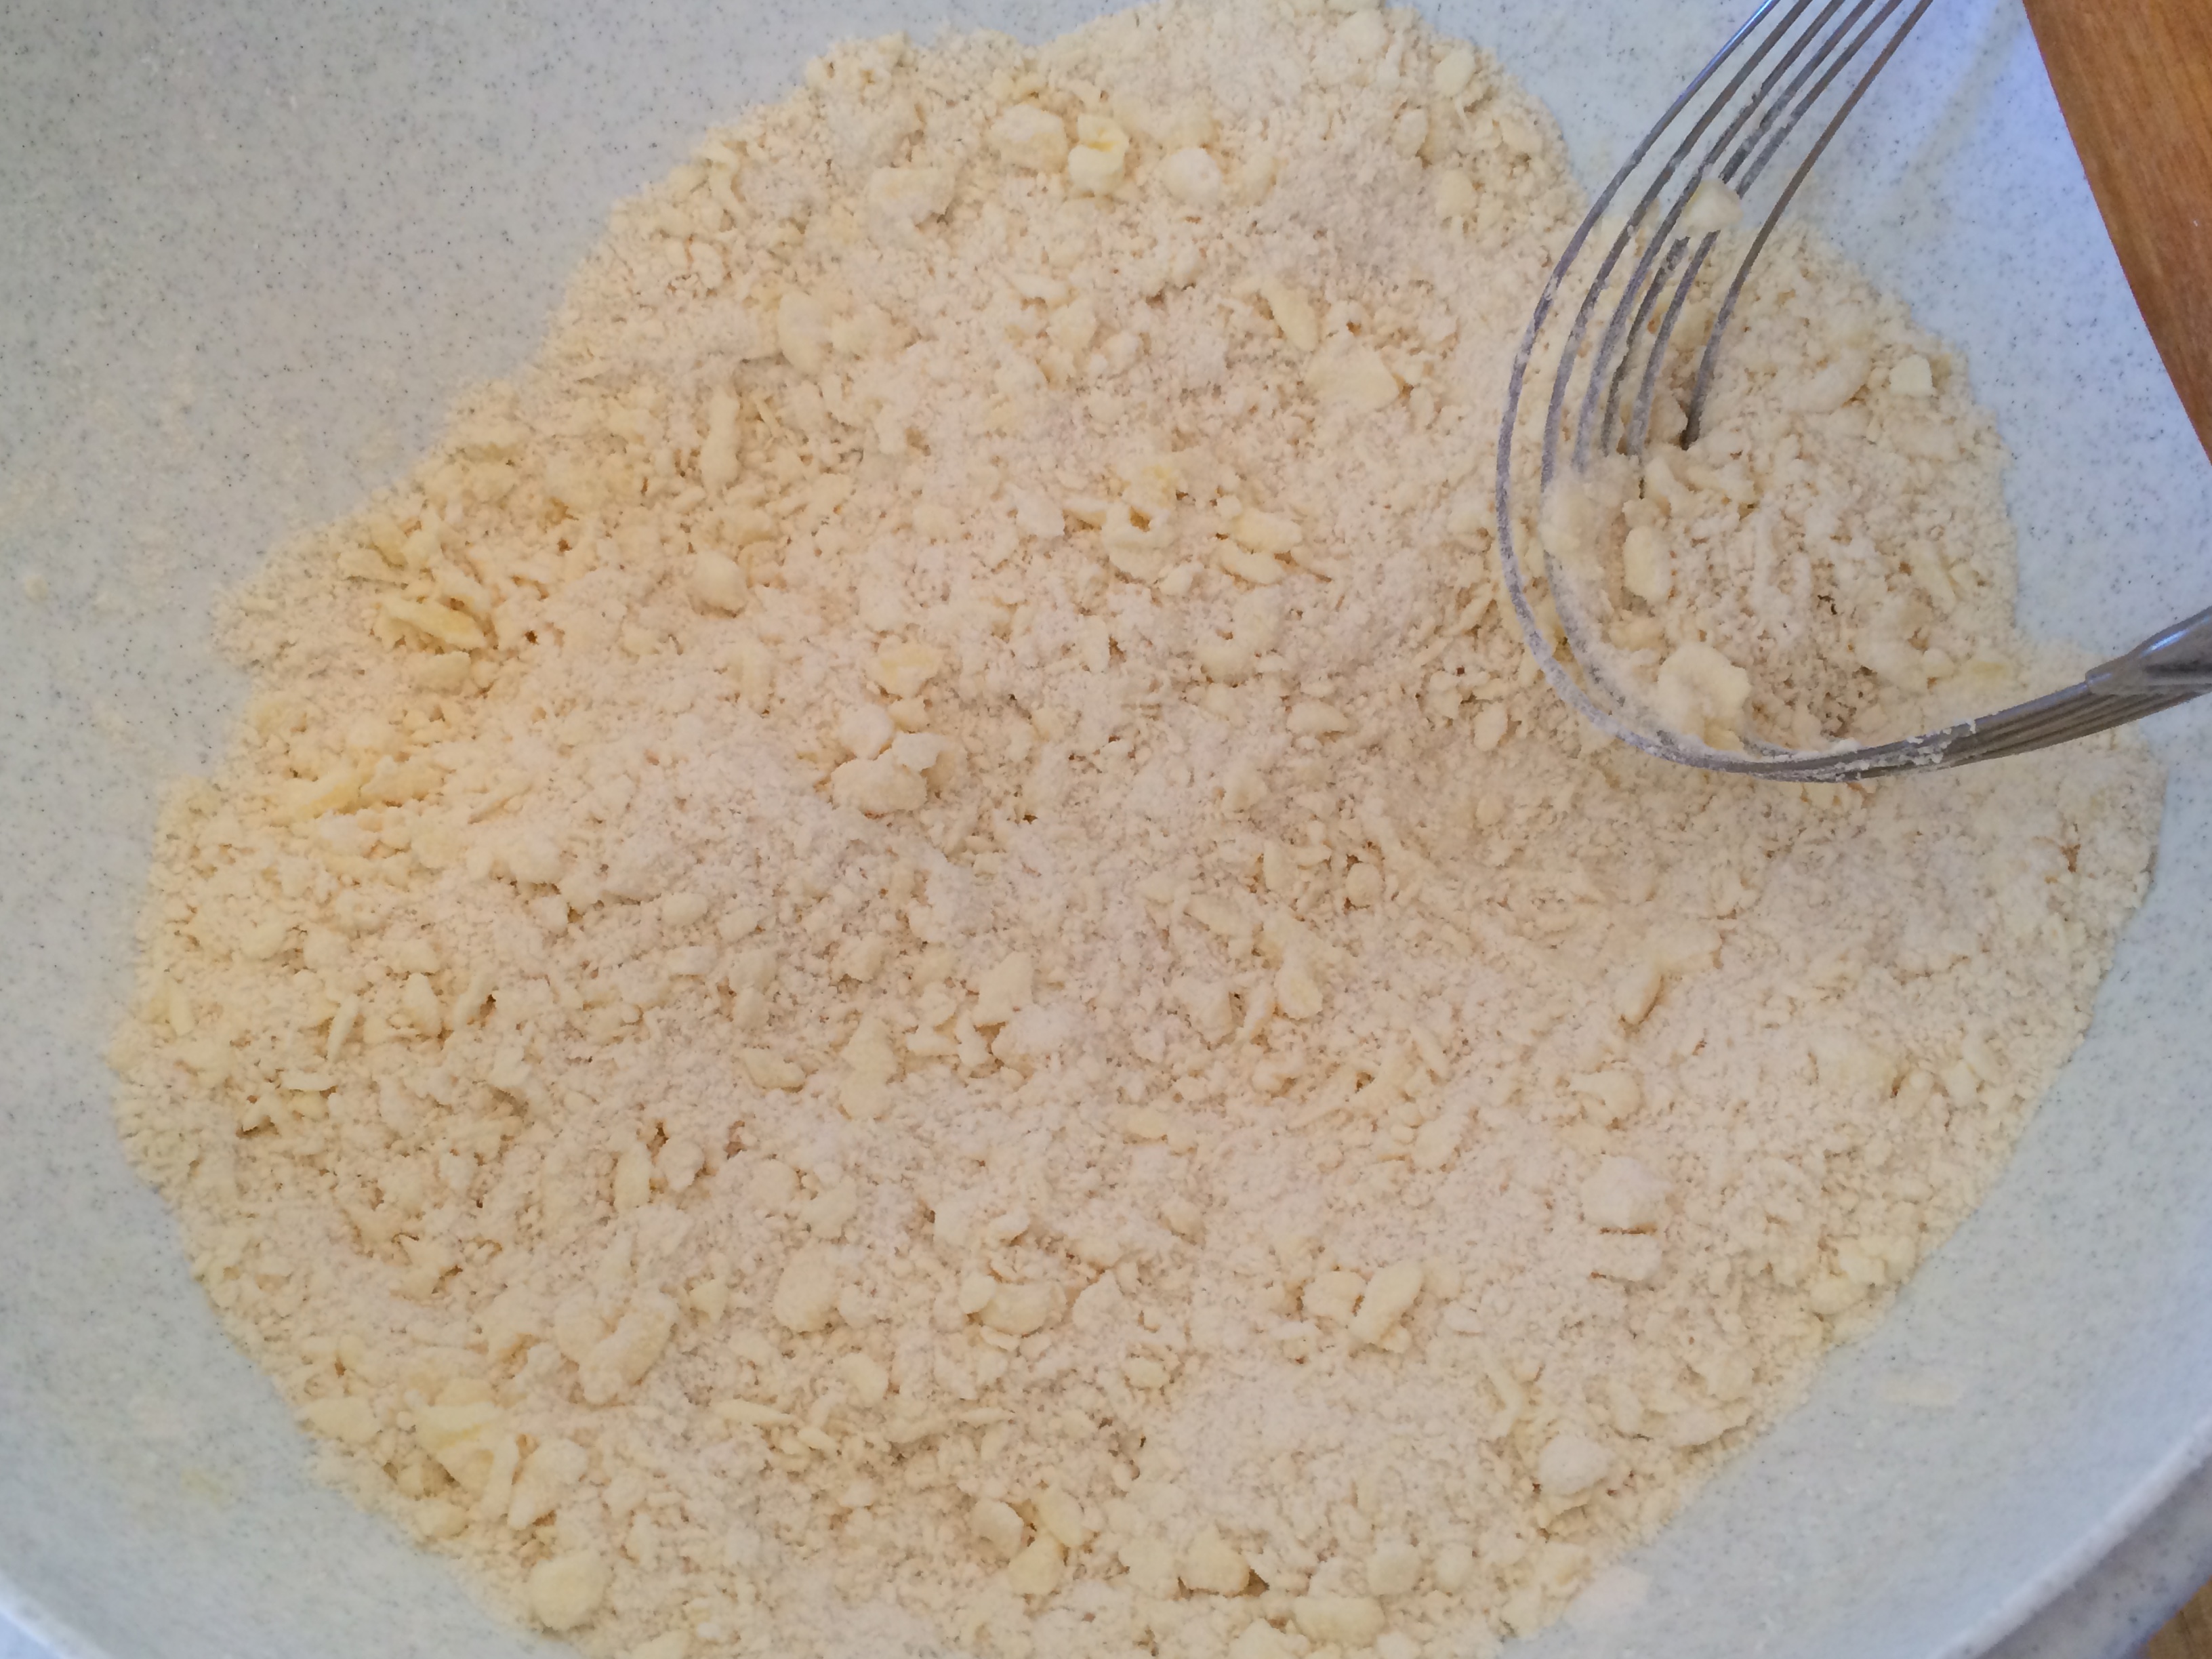
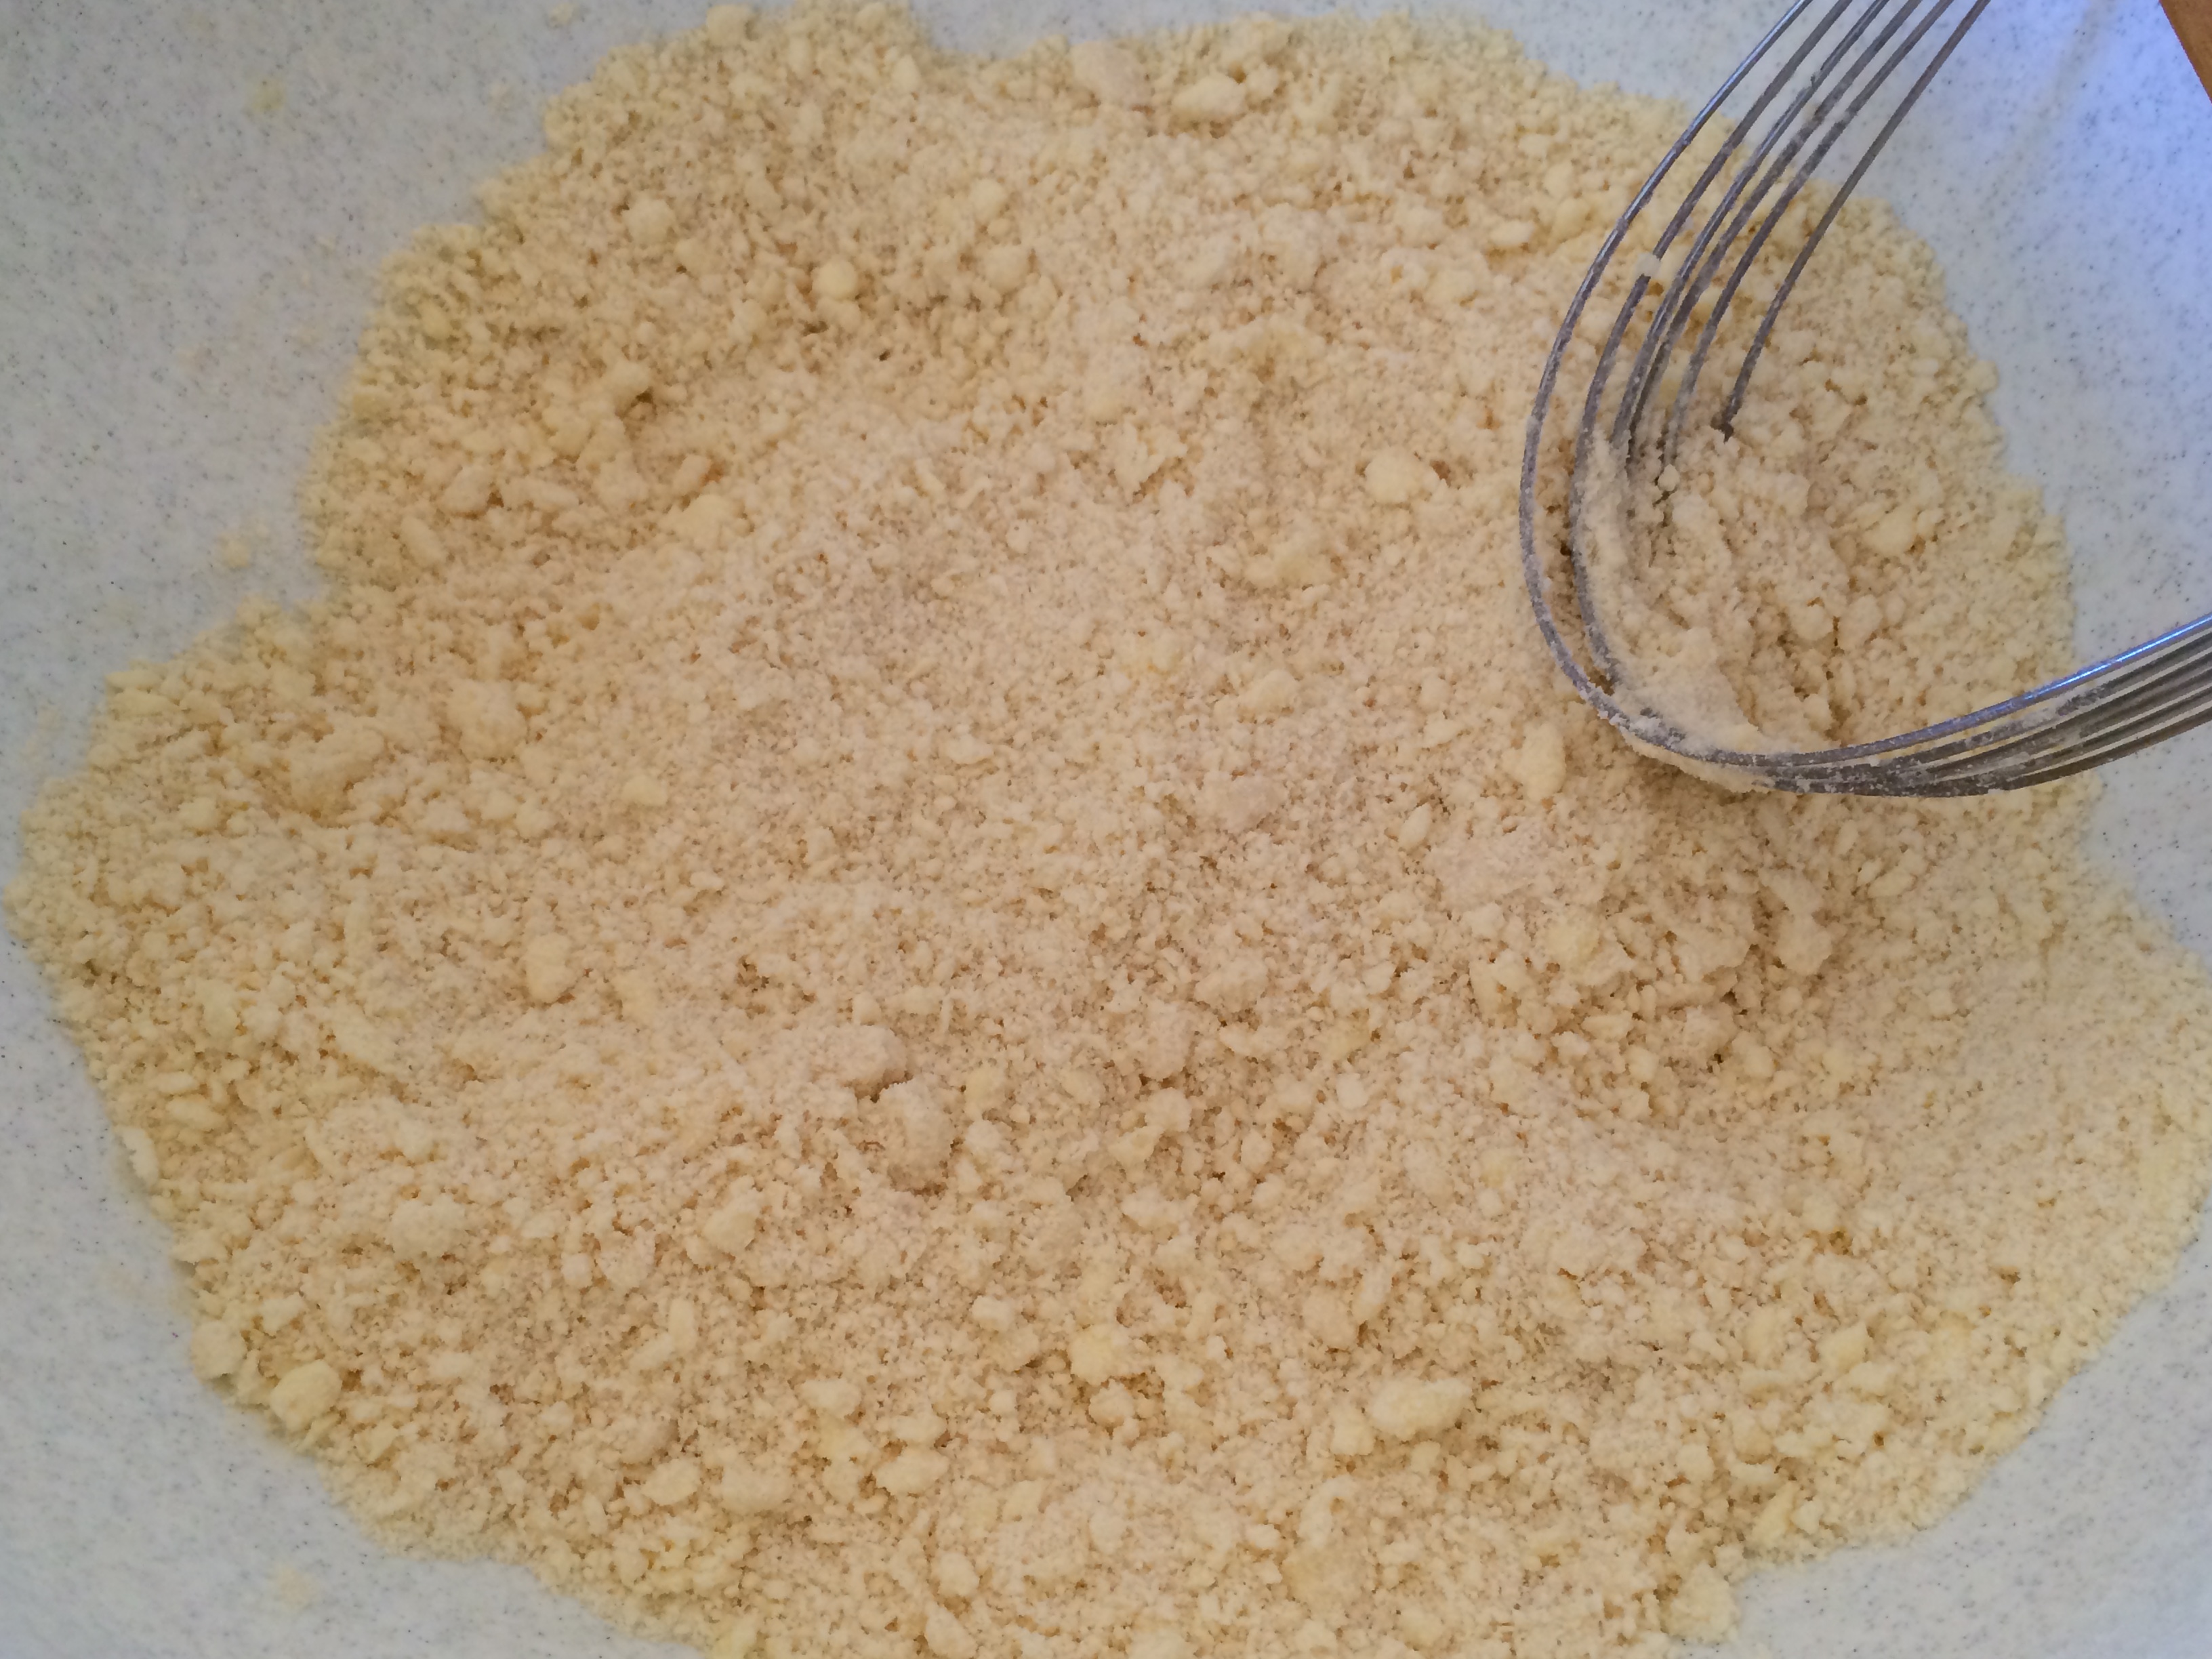
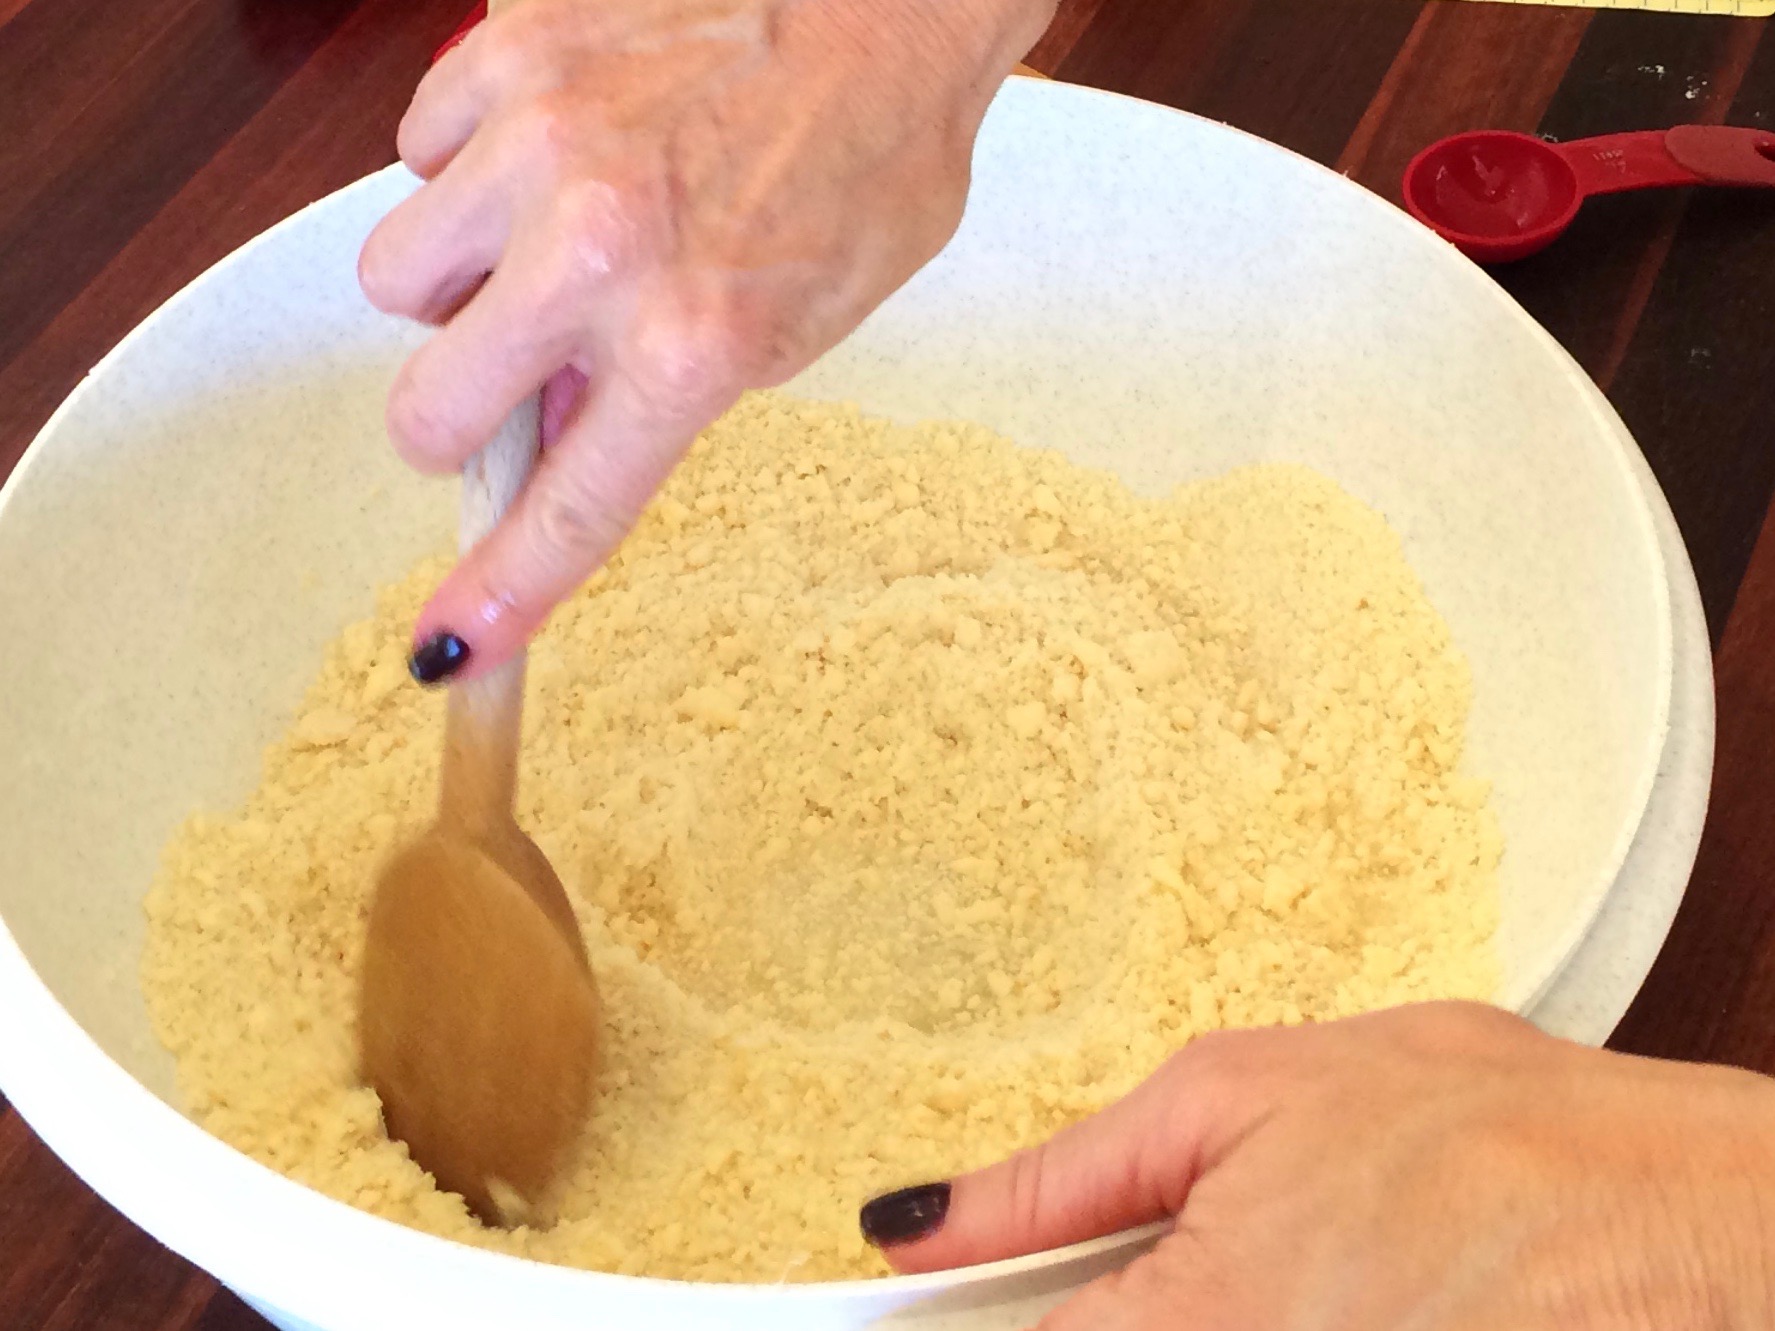
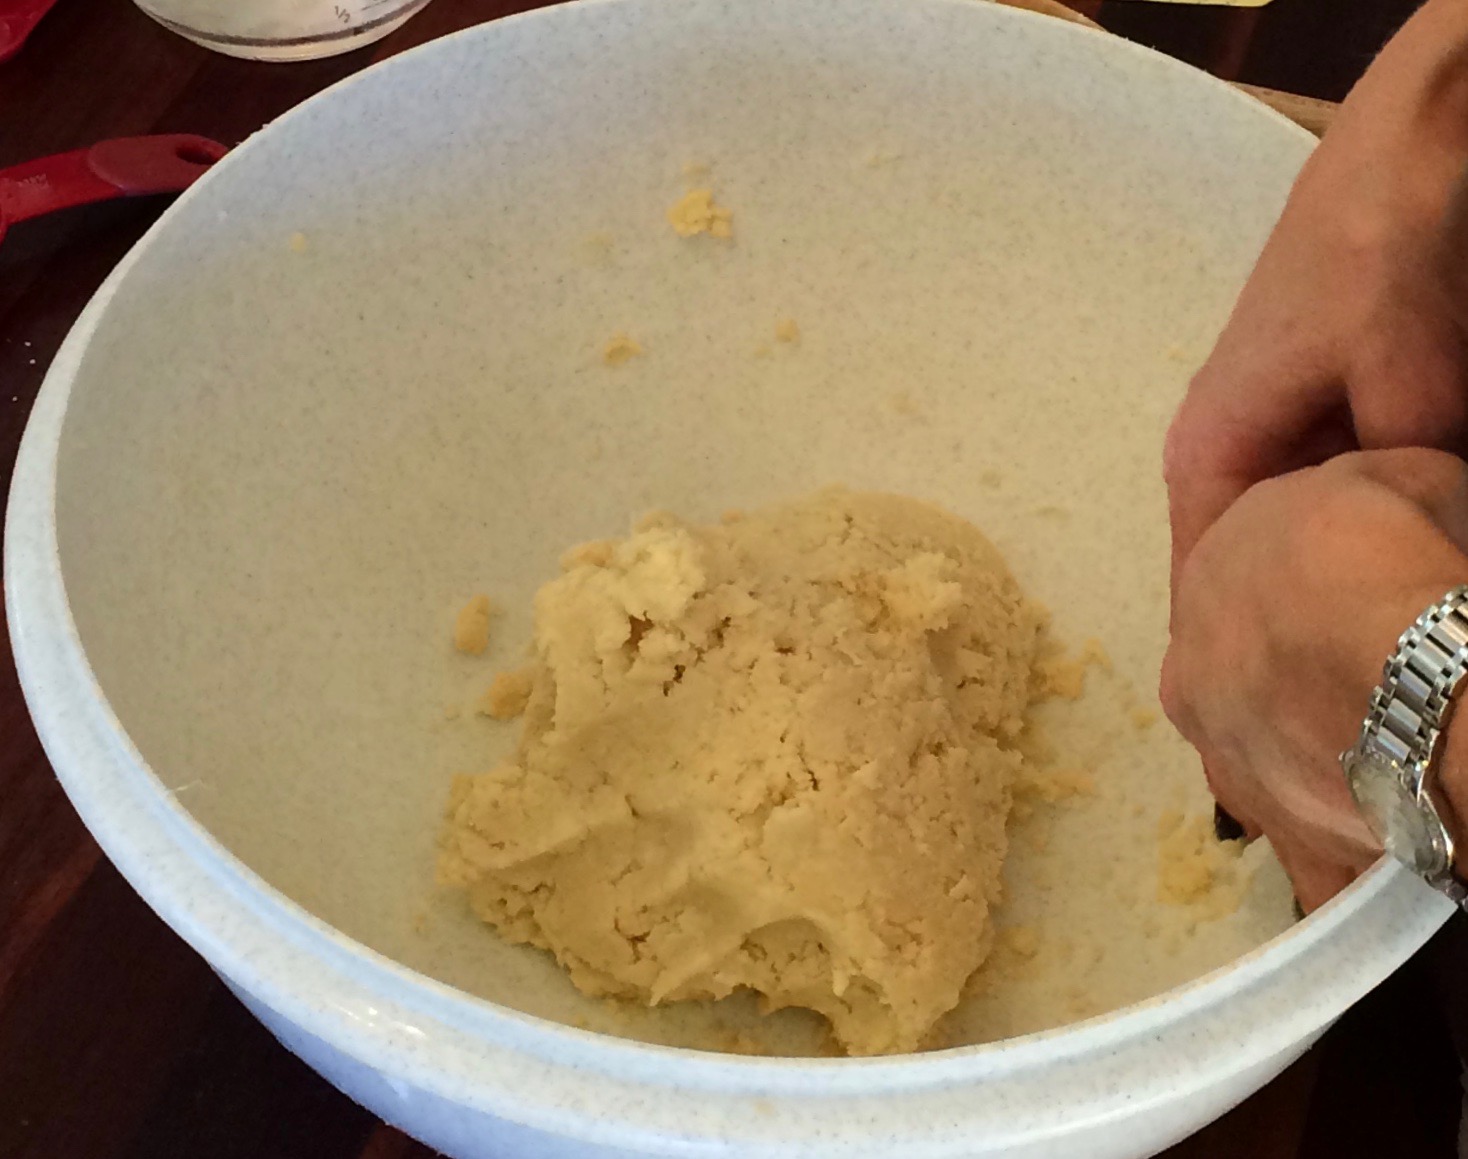
- Using a hand held pastry cutter, combine the ingredients until the texture resembles coarse cornmeal. Gently chop at the mixture, using a small rapid chopping motion, cutting the butter into the flour mixture until the butter pieces are no larger than small peas. (If you are using two knives, hold one knife in each hand and cross the knives together, touching handle to handle then slide the blades against one another to made a cutting motion across the diameter of the bowl. If you are using an electric standing mixer, mix on medium-low speed.) If butter gets clumped on the pastry blender, the knives or the paddle, use a spoon to scrape off excess and toss it again to coat with flour. Breathe and believe that your crust is on its way to becoming perfectly blended in its own way, soon to be transformed into a wonderful coarse cormeal texture.
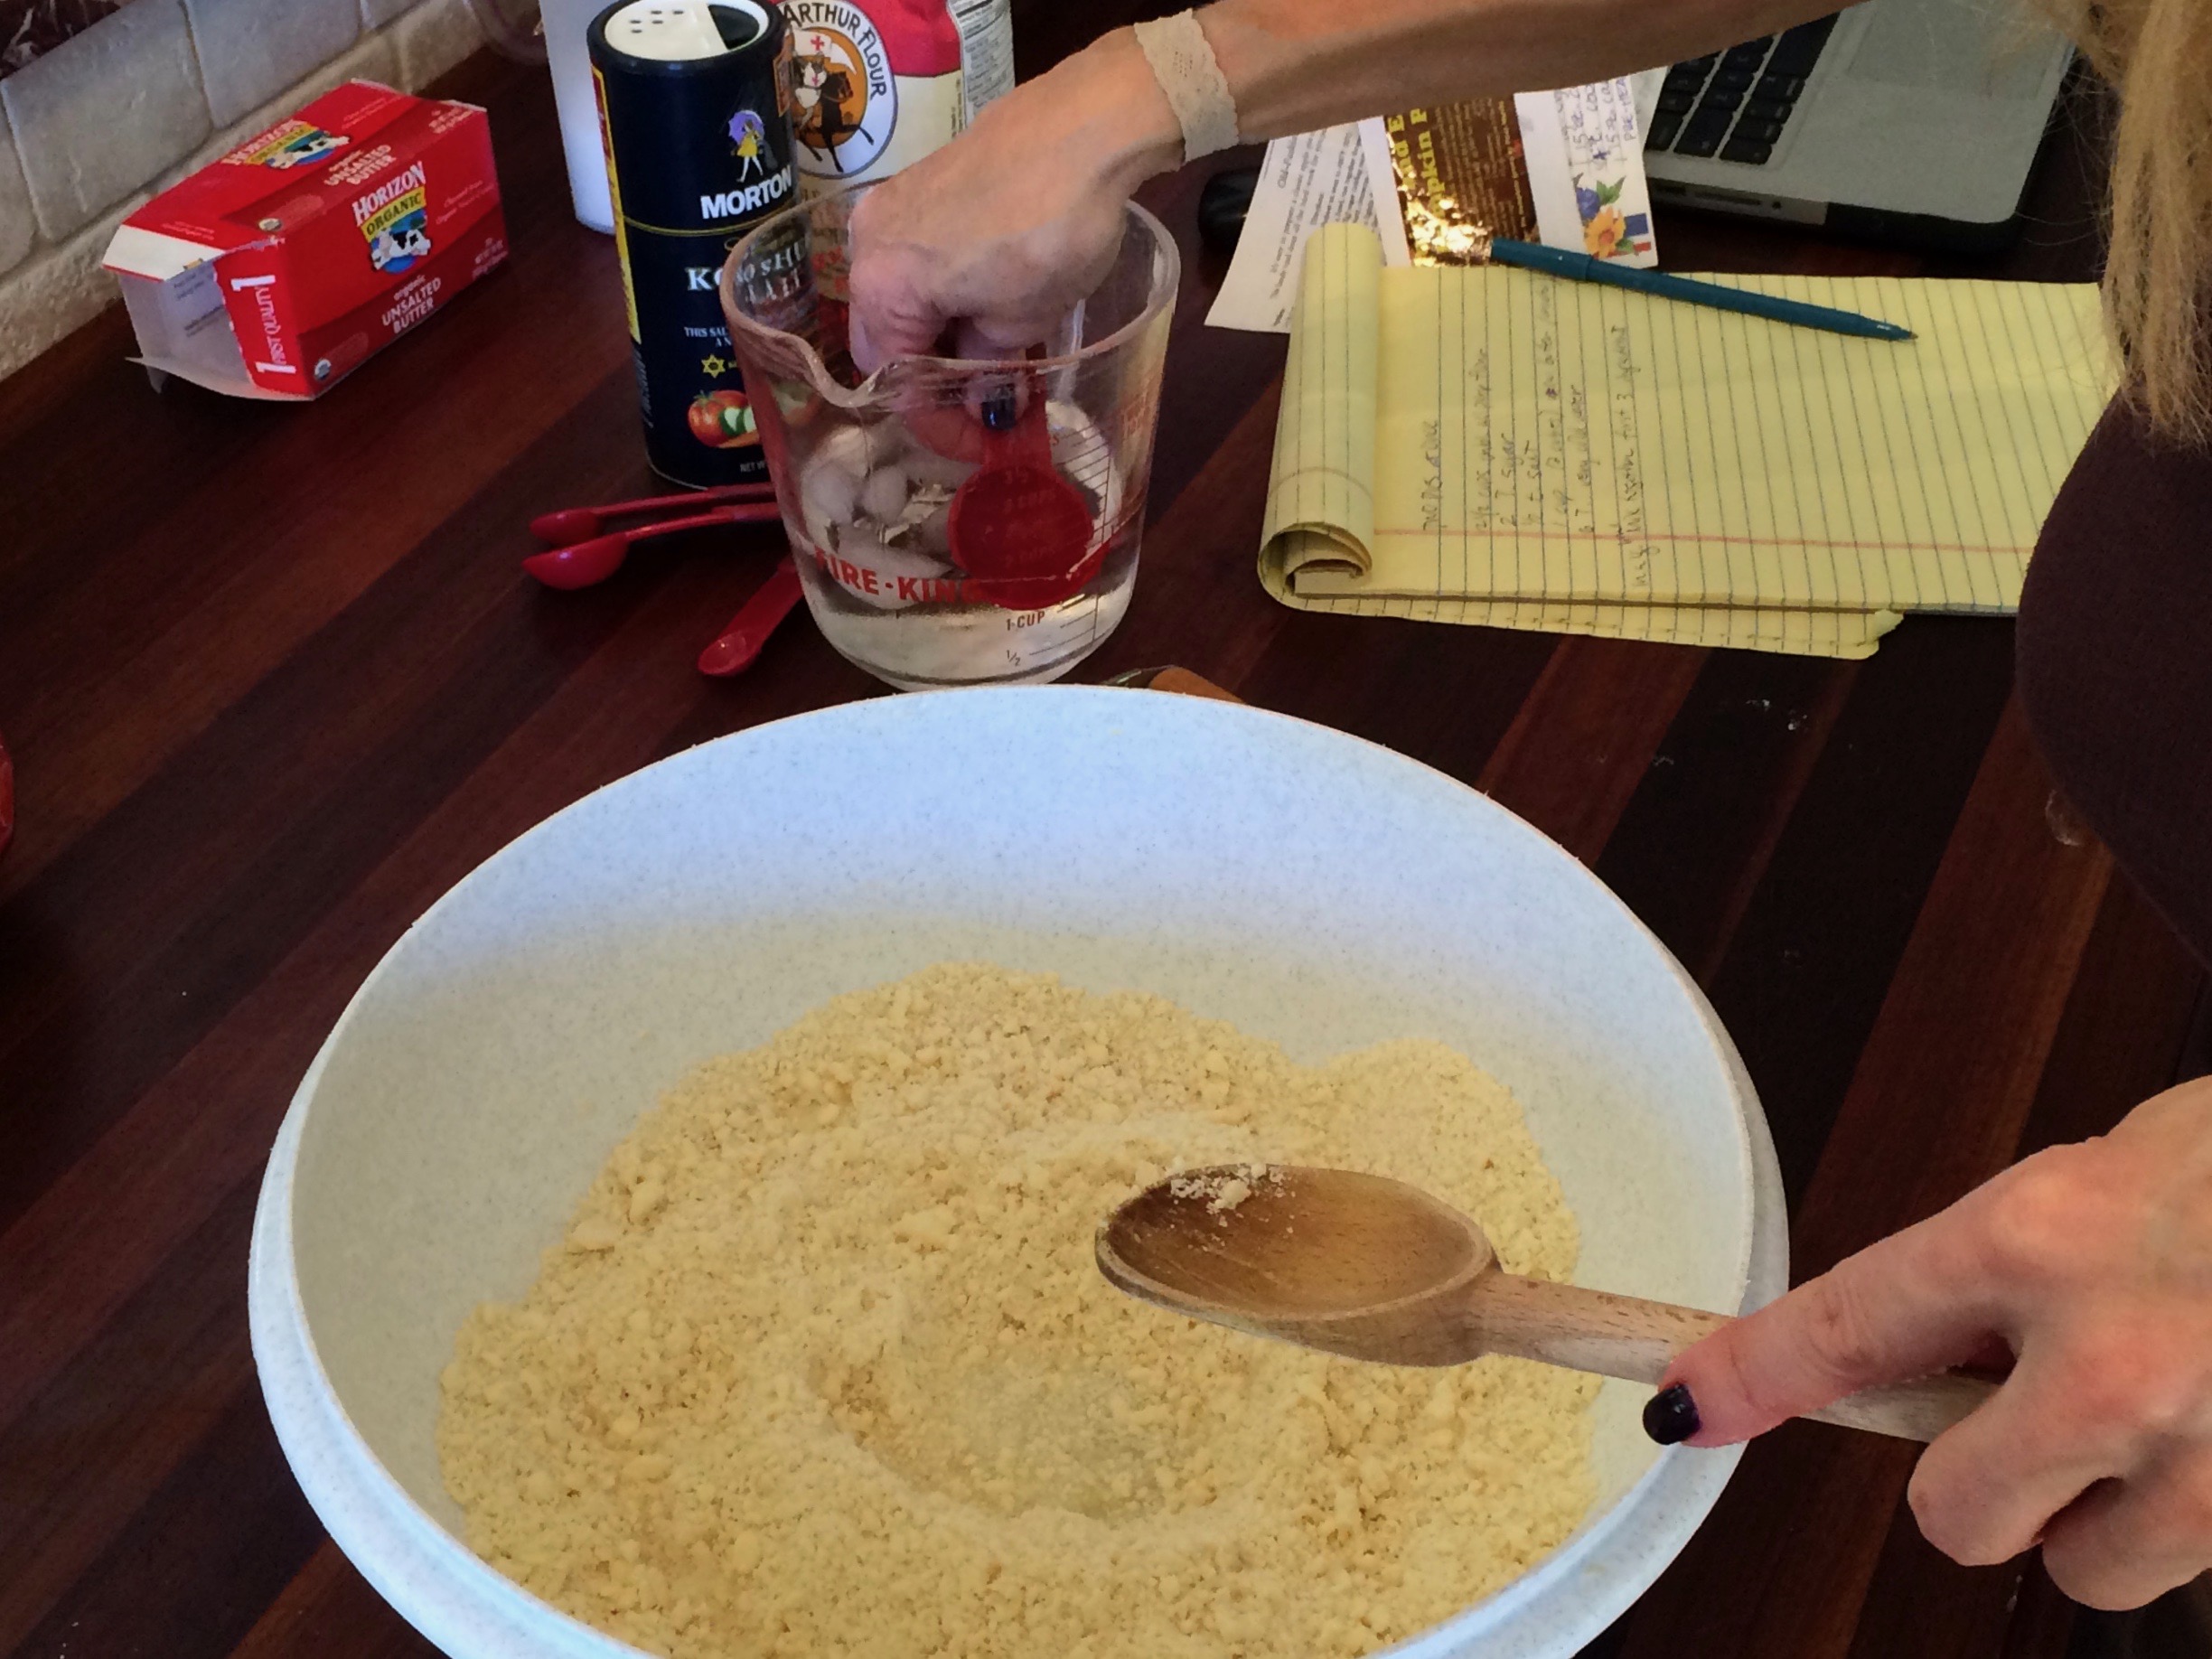
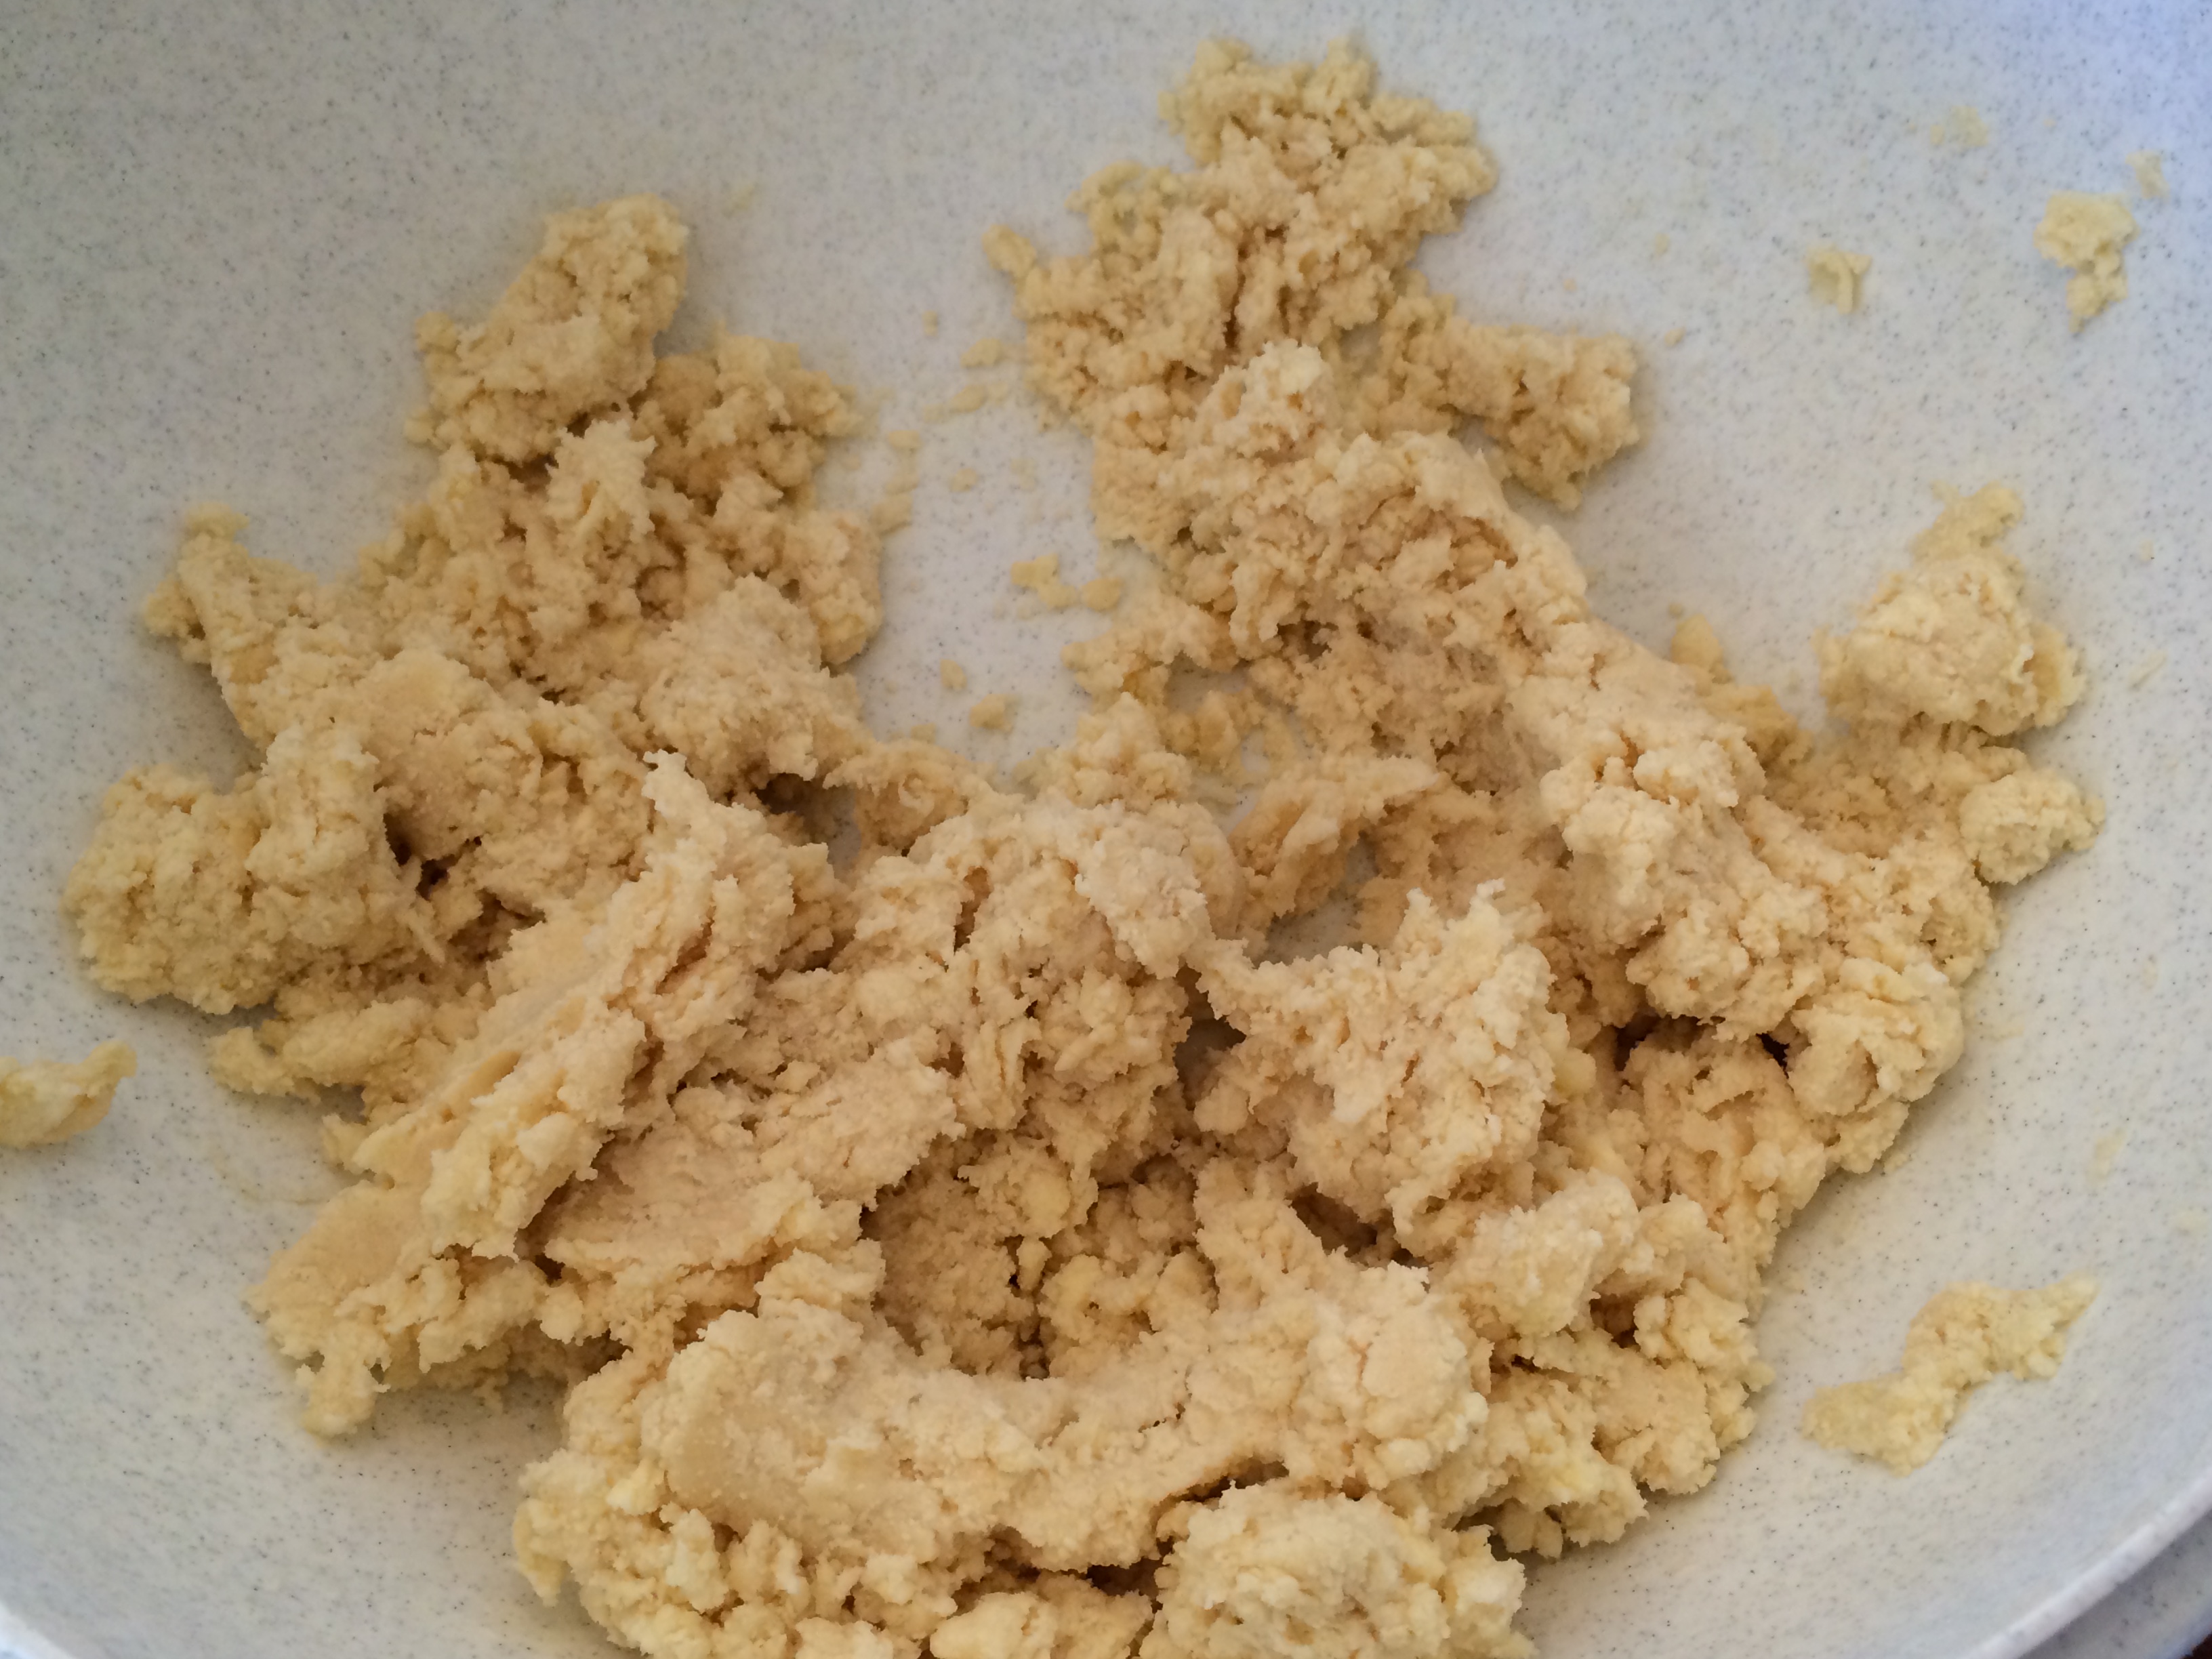
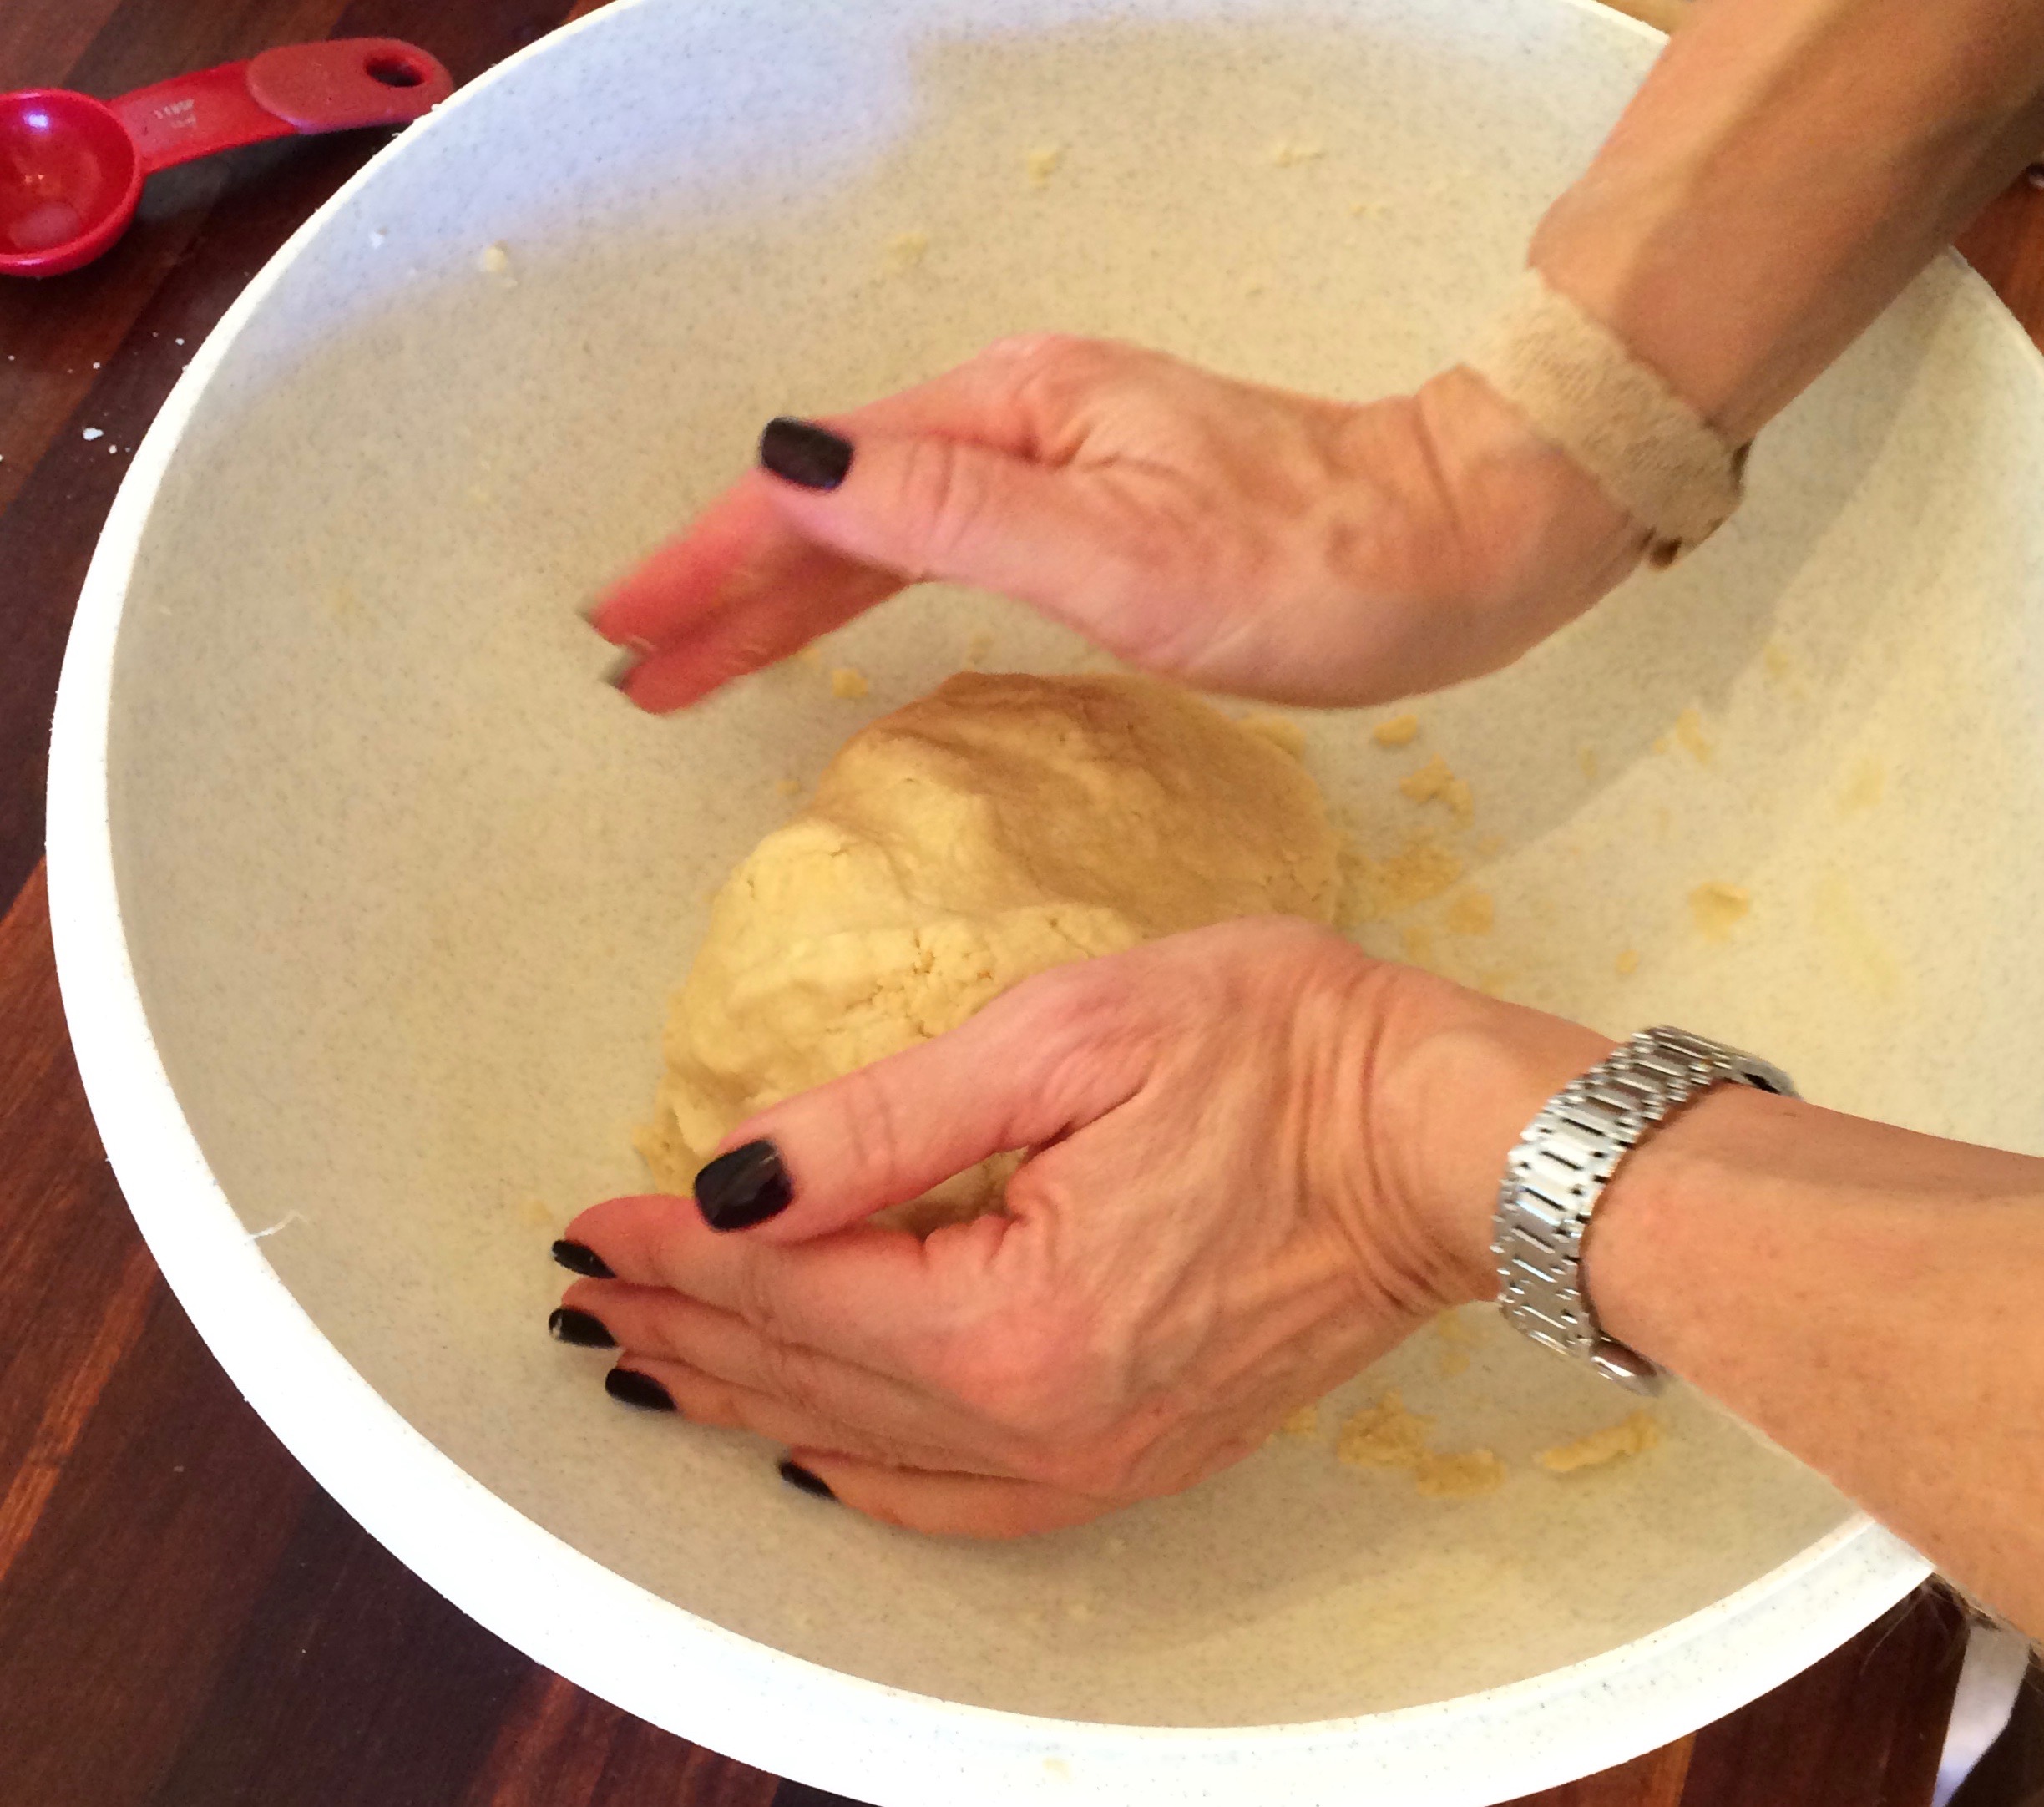
- Add 4 Tablespoons of very cold water and mix with a fork until dough pulls together. If you are using an electric standing mixer, mix on low speed. I like to use a large wooden spoon for this mixing stage. Once all water is thoroughlyabsorbed and incorporated, you may continue to add water one tablespoon at a time, taking care not to add so much that dough becomes gooey. You want to dough to just be pulling together, as if it just isn’t quite ready to form into a ball. Usually I end up adding 1-3 extra tablespoons of water.
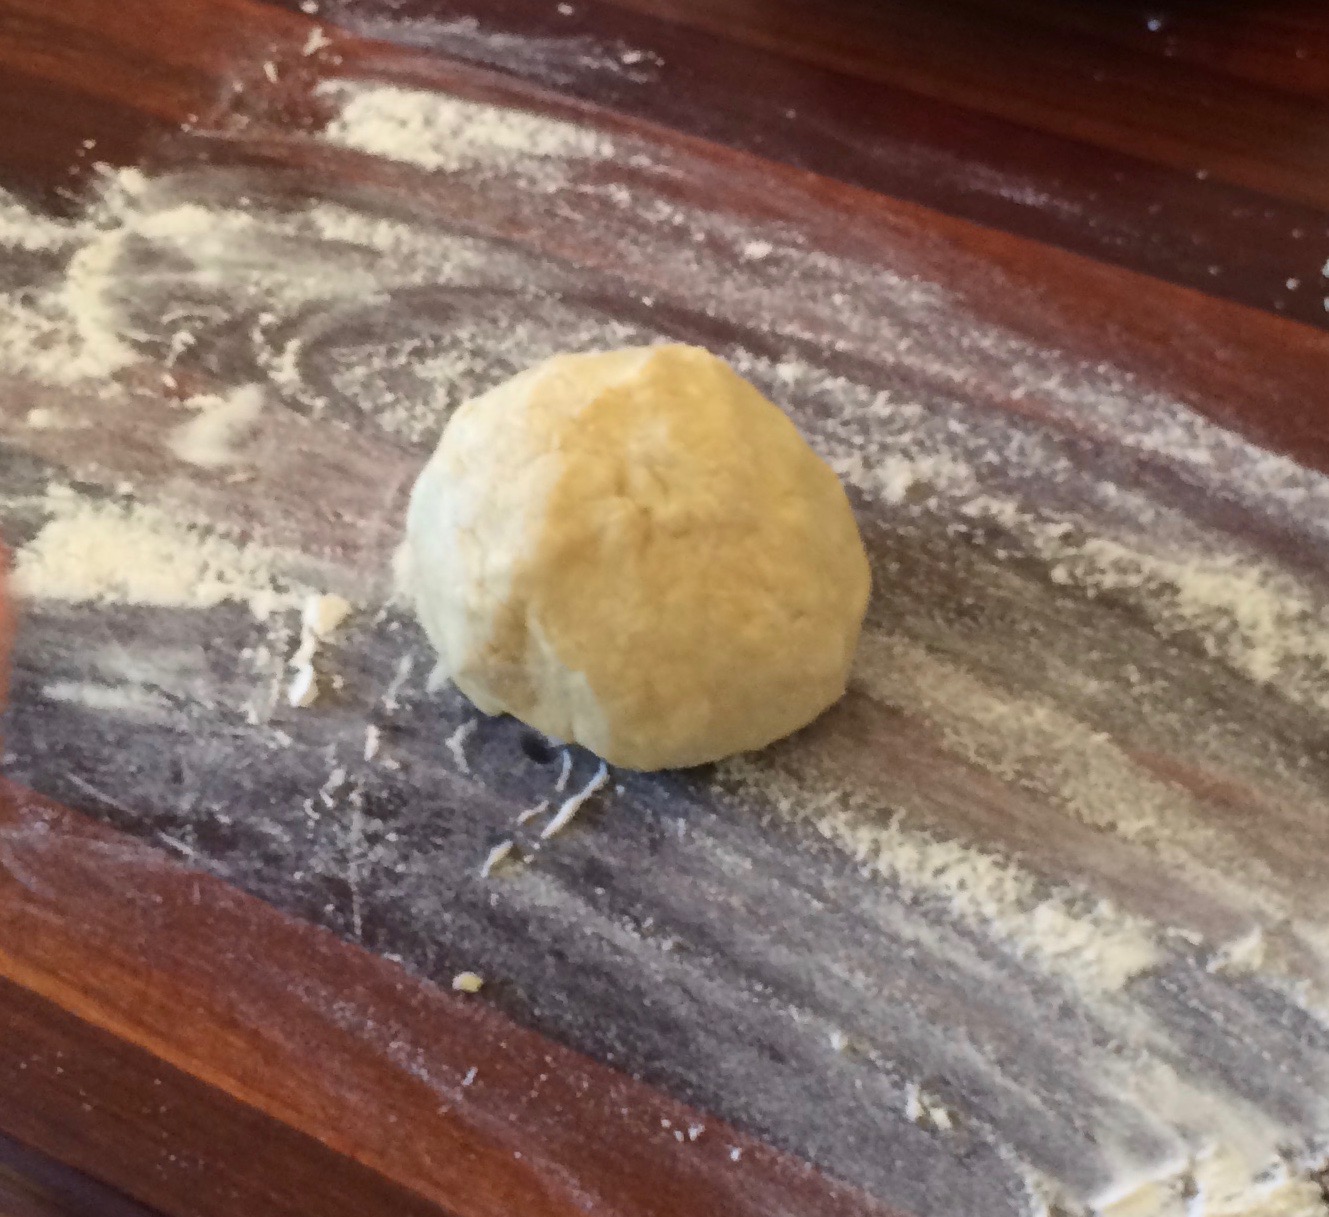
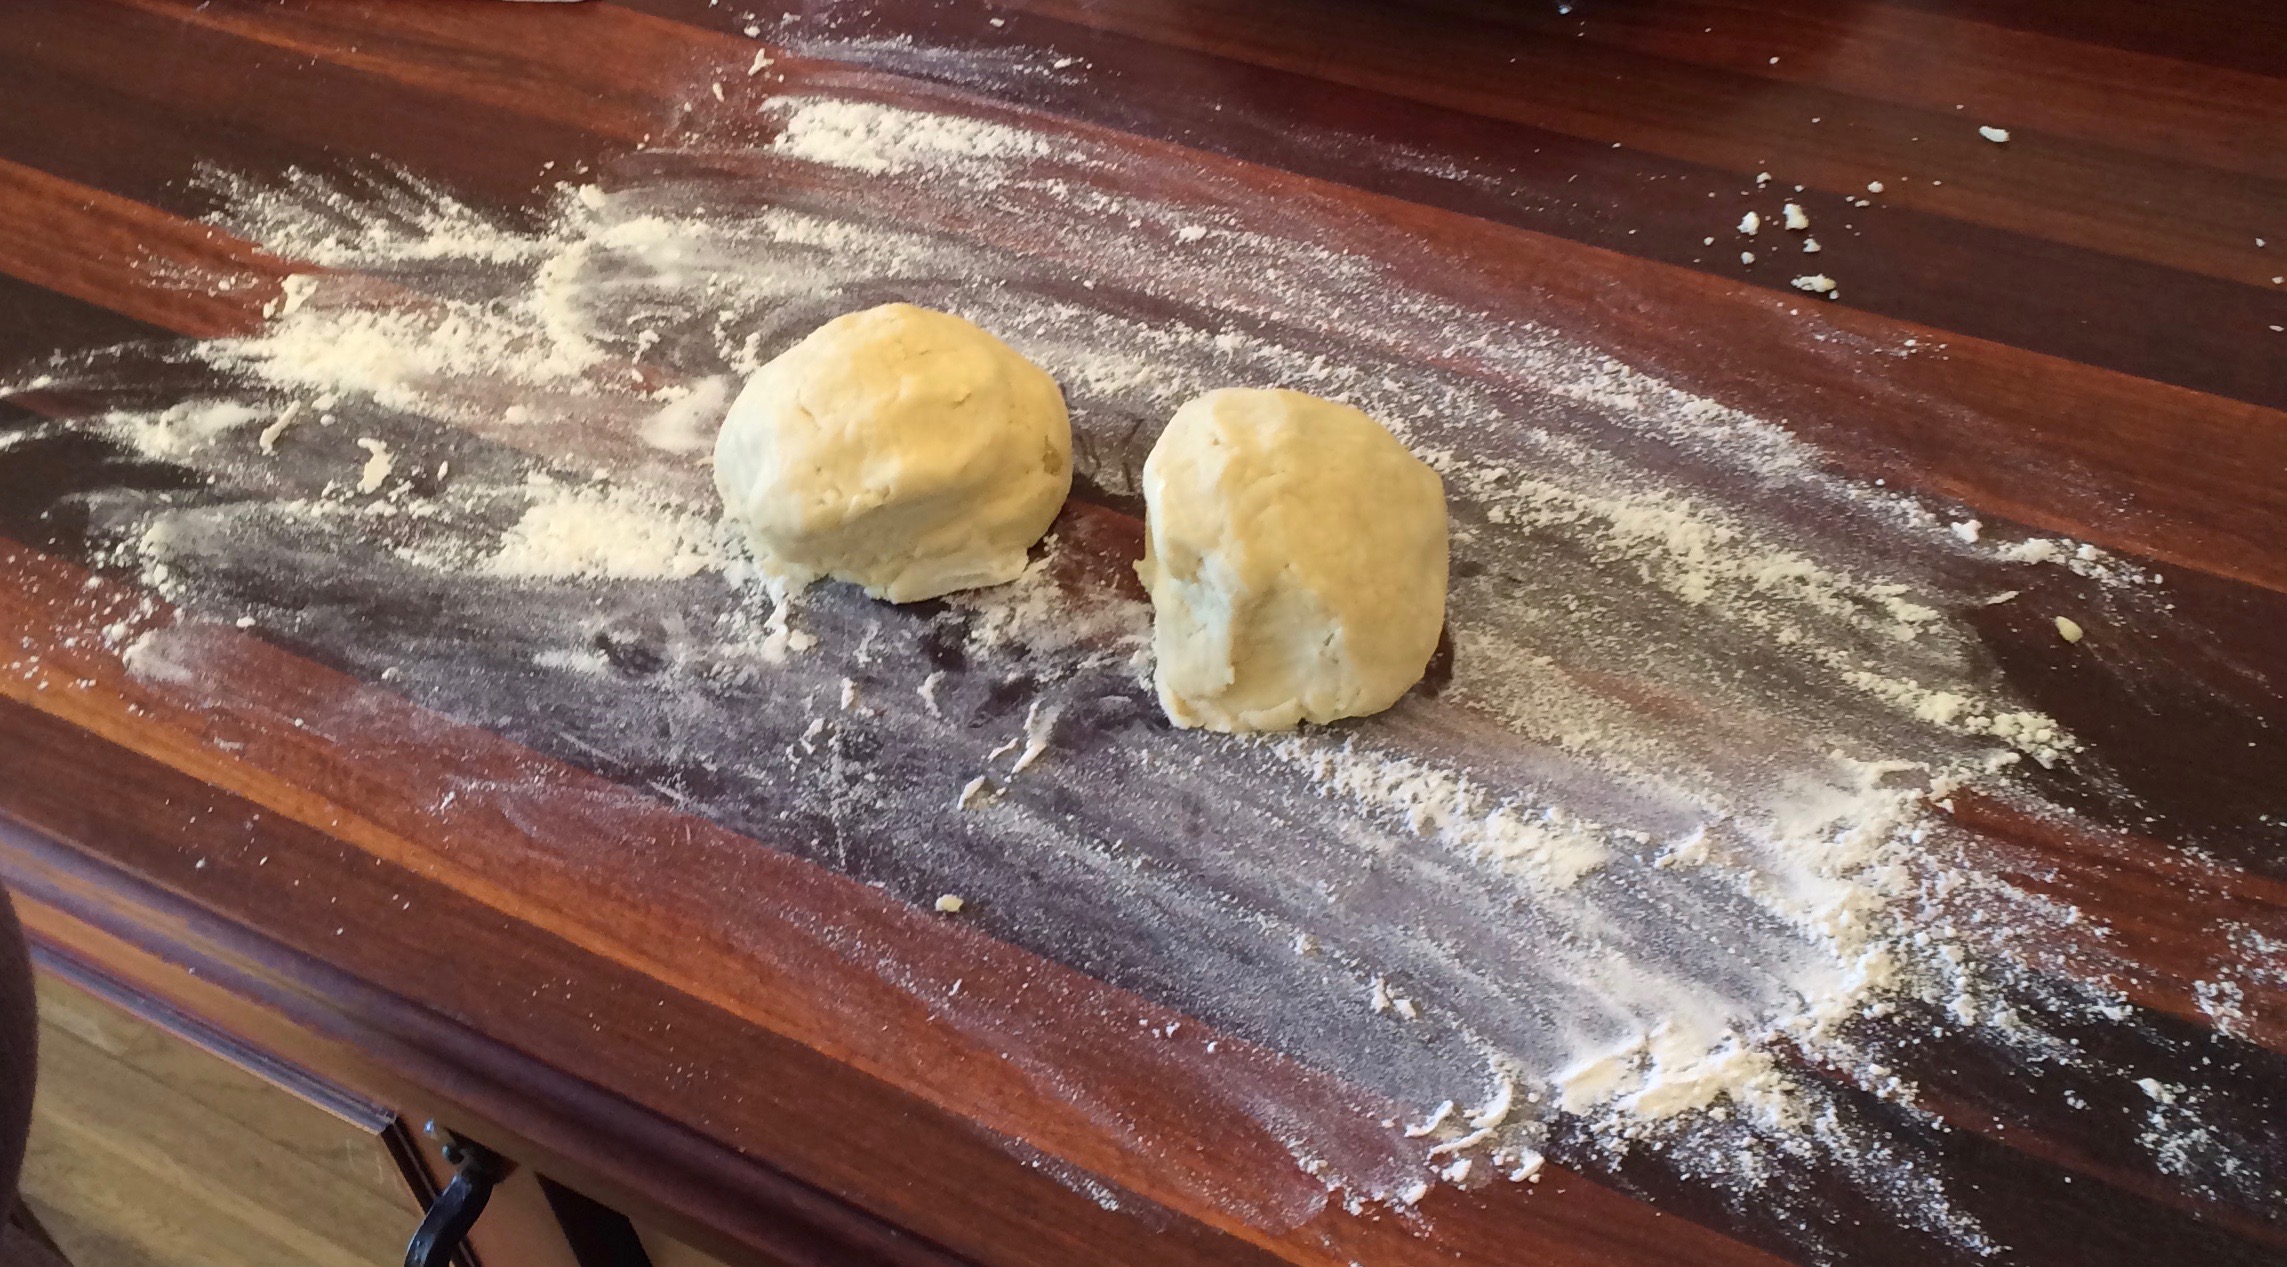
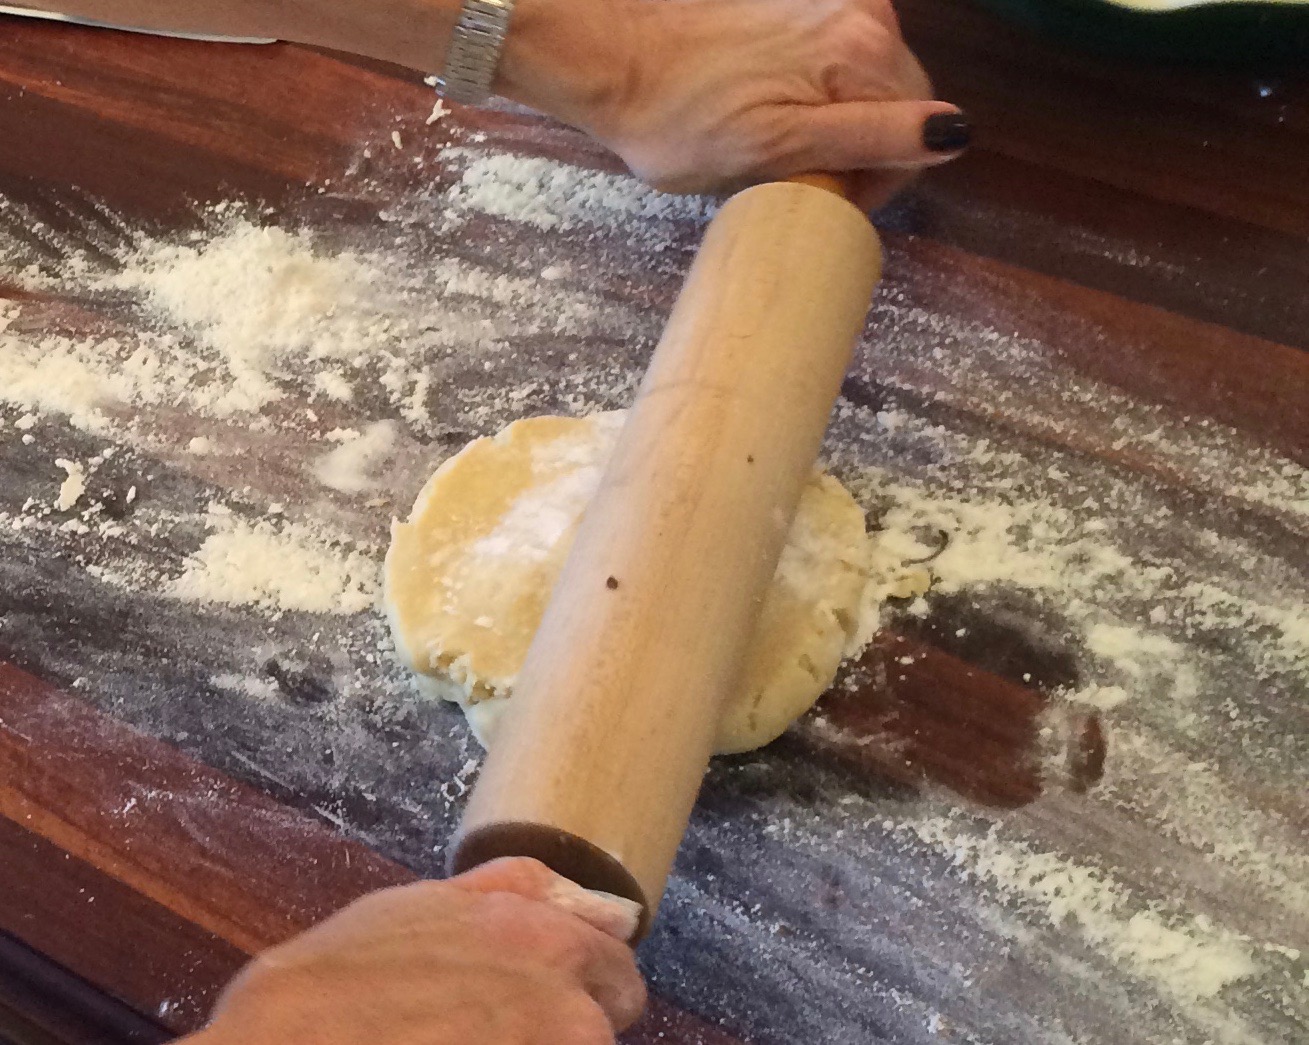
- Using your clean hands, pat and mold the dough into a nice ball (or two balls if you have doubled the recipe) and transfer to lightly floured work surface (refrigerate 2nd round until ready to use). Using the rolling pin, gently tap the dough 3-4 times to begin to flatten the ball. Lightly dust the rolling pin and/or the top of the dough, lift the dough and give it a half turn. Gently tap again 3-4 times to flatten the dough into a disk.
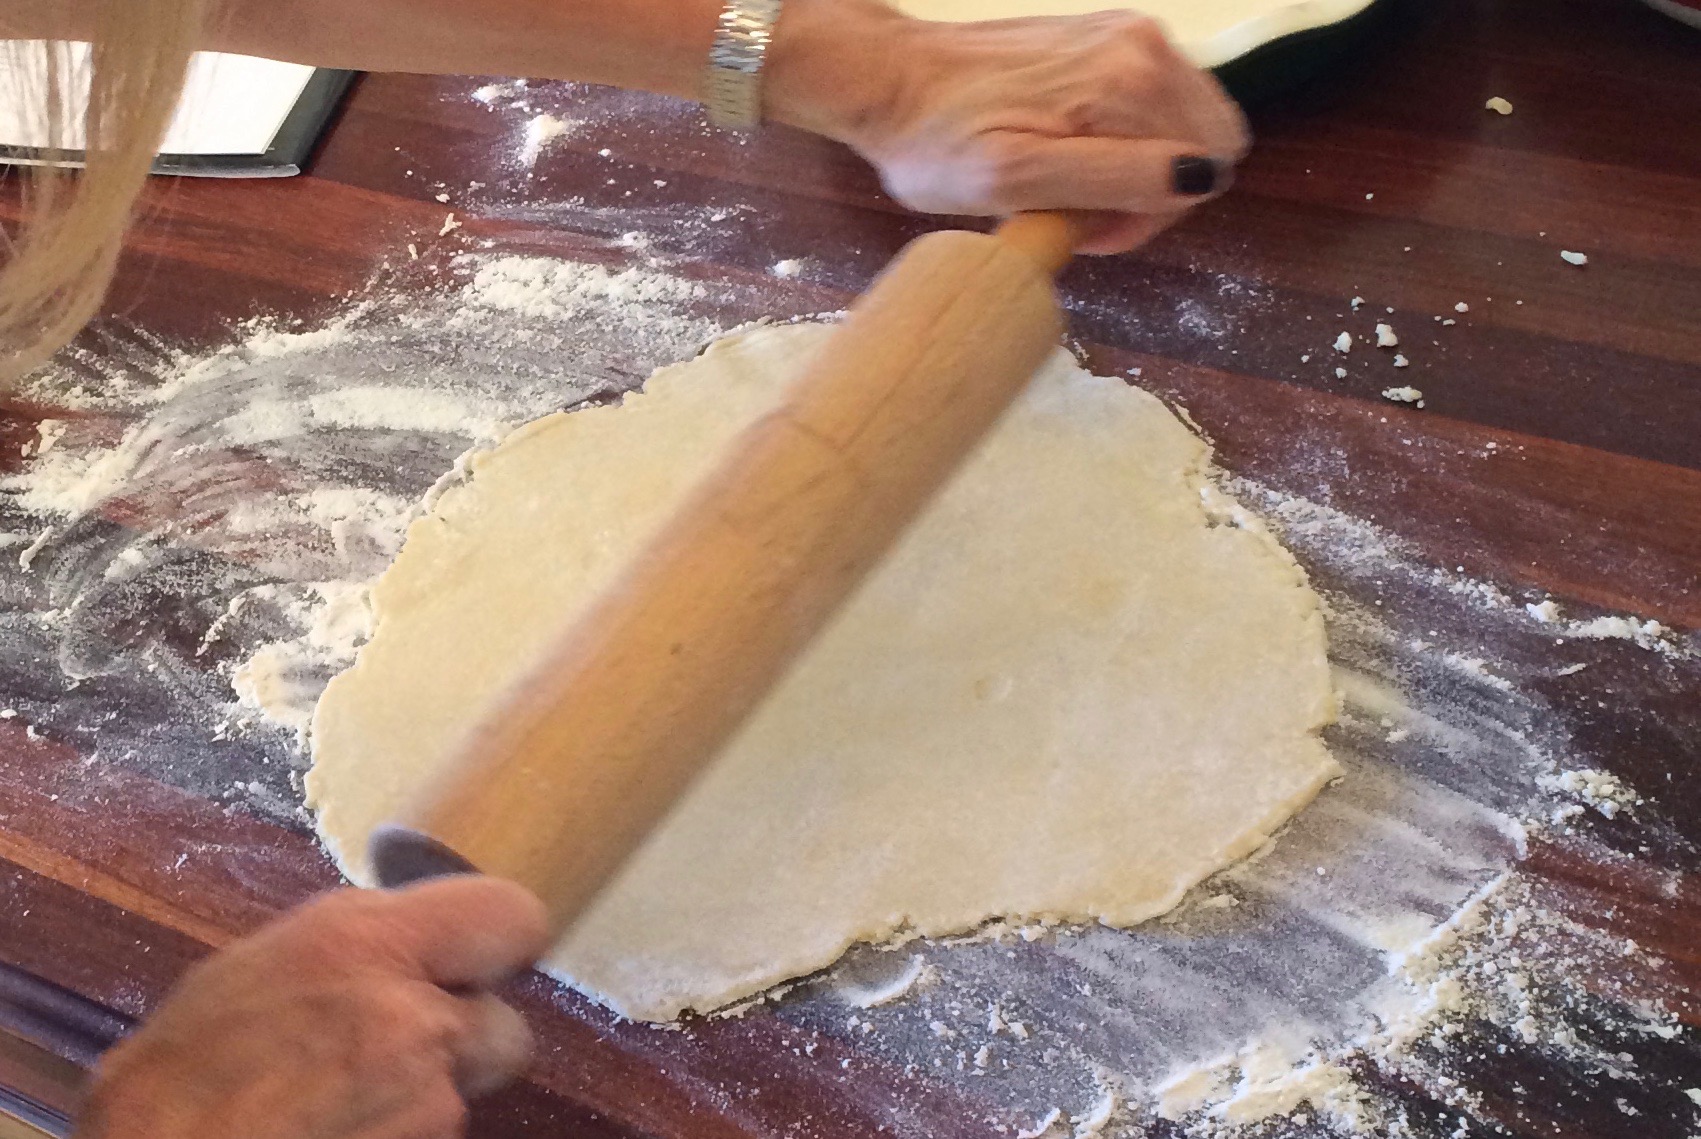
- Lift the dough and give it a quarter turn, then roll from the center of the round up toward the top, taking care to stop 1/4 -1/2″ before the edge so that the edges stay nice and thick. Continue to lift, place and roll, dusting the rolling pin and/or dough with flour sparingly as needed. As you lift, lightly dust the work surface as needed and gauge the thickness of the dough, looking for about a 1/8″ thickness when done. If the dough tears, do not fret; simply dab on a little water and overlap the broken dough, press or roll it together and dust with a little flour.
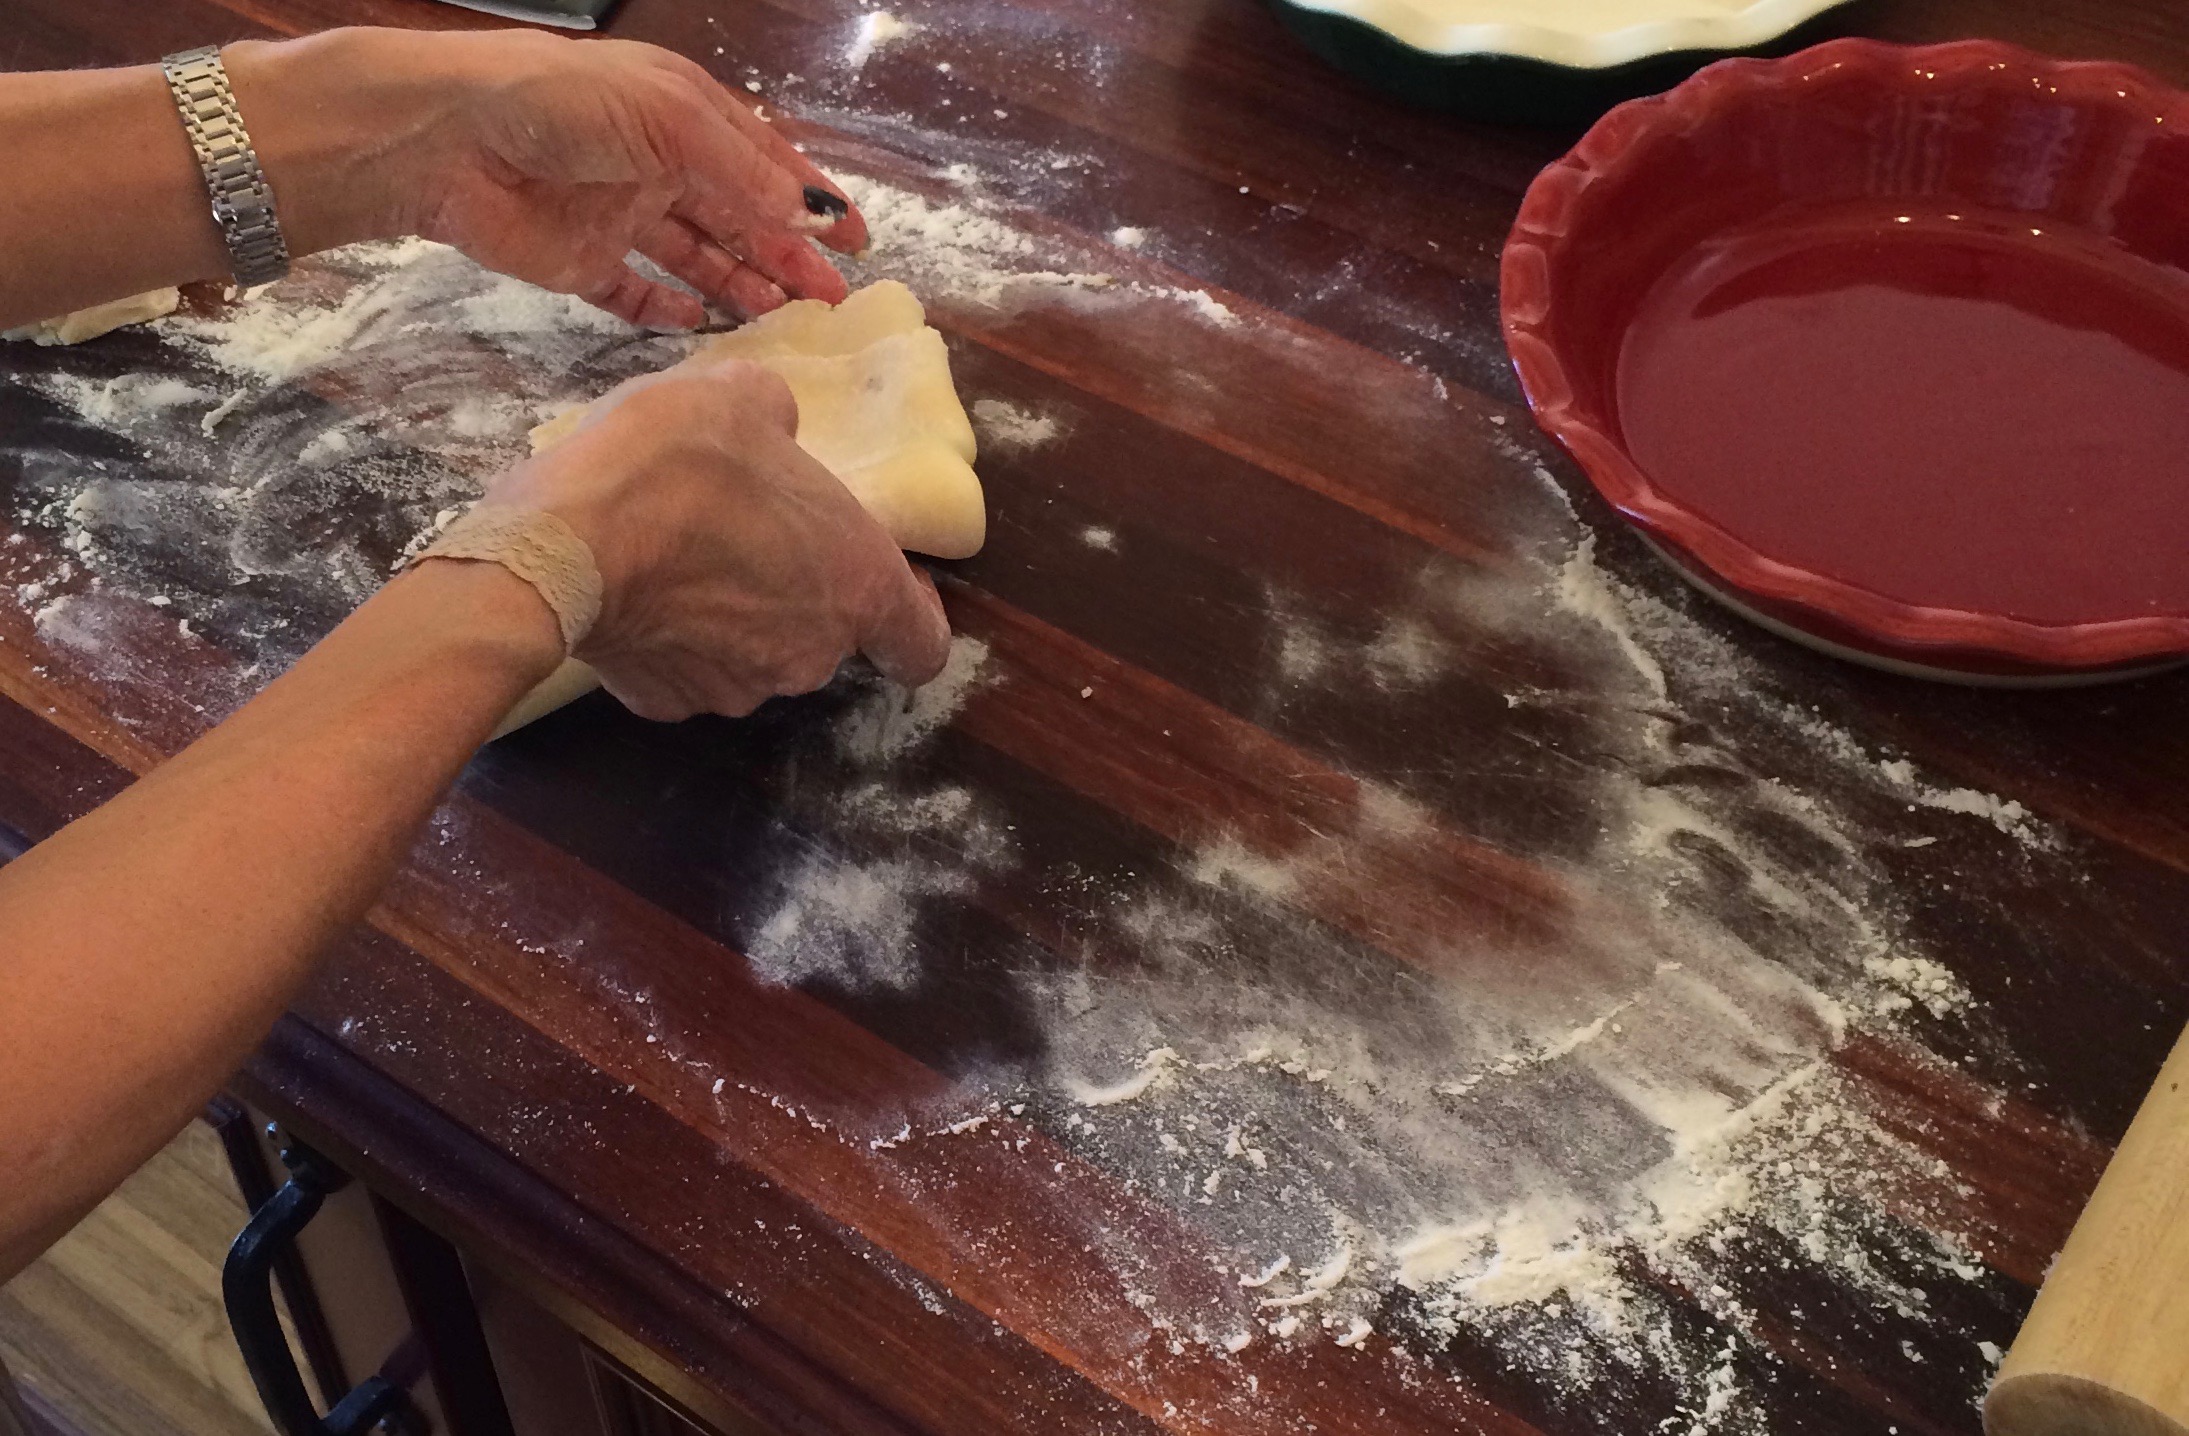
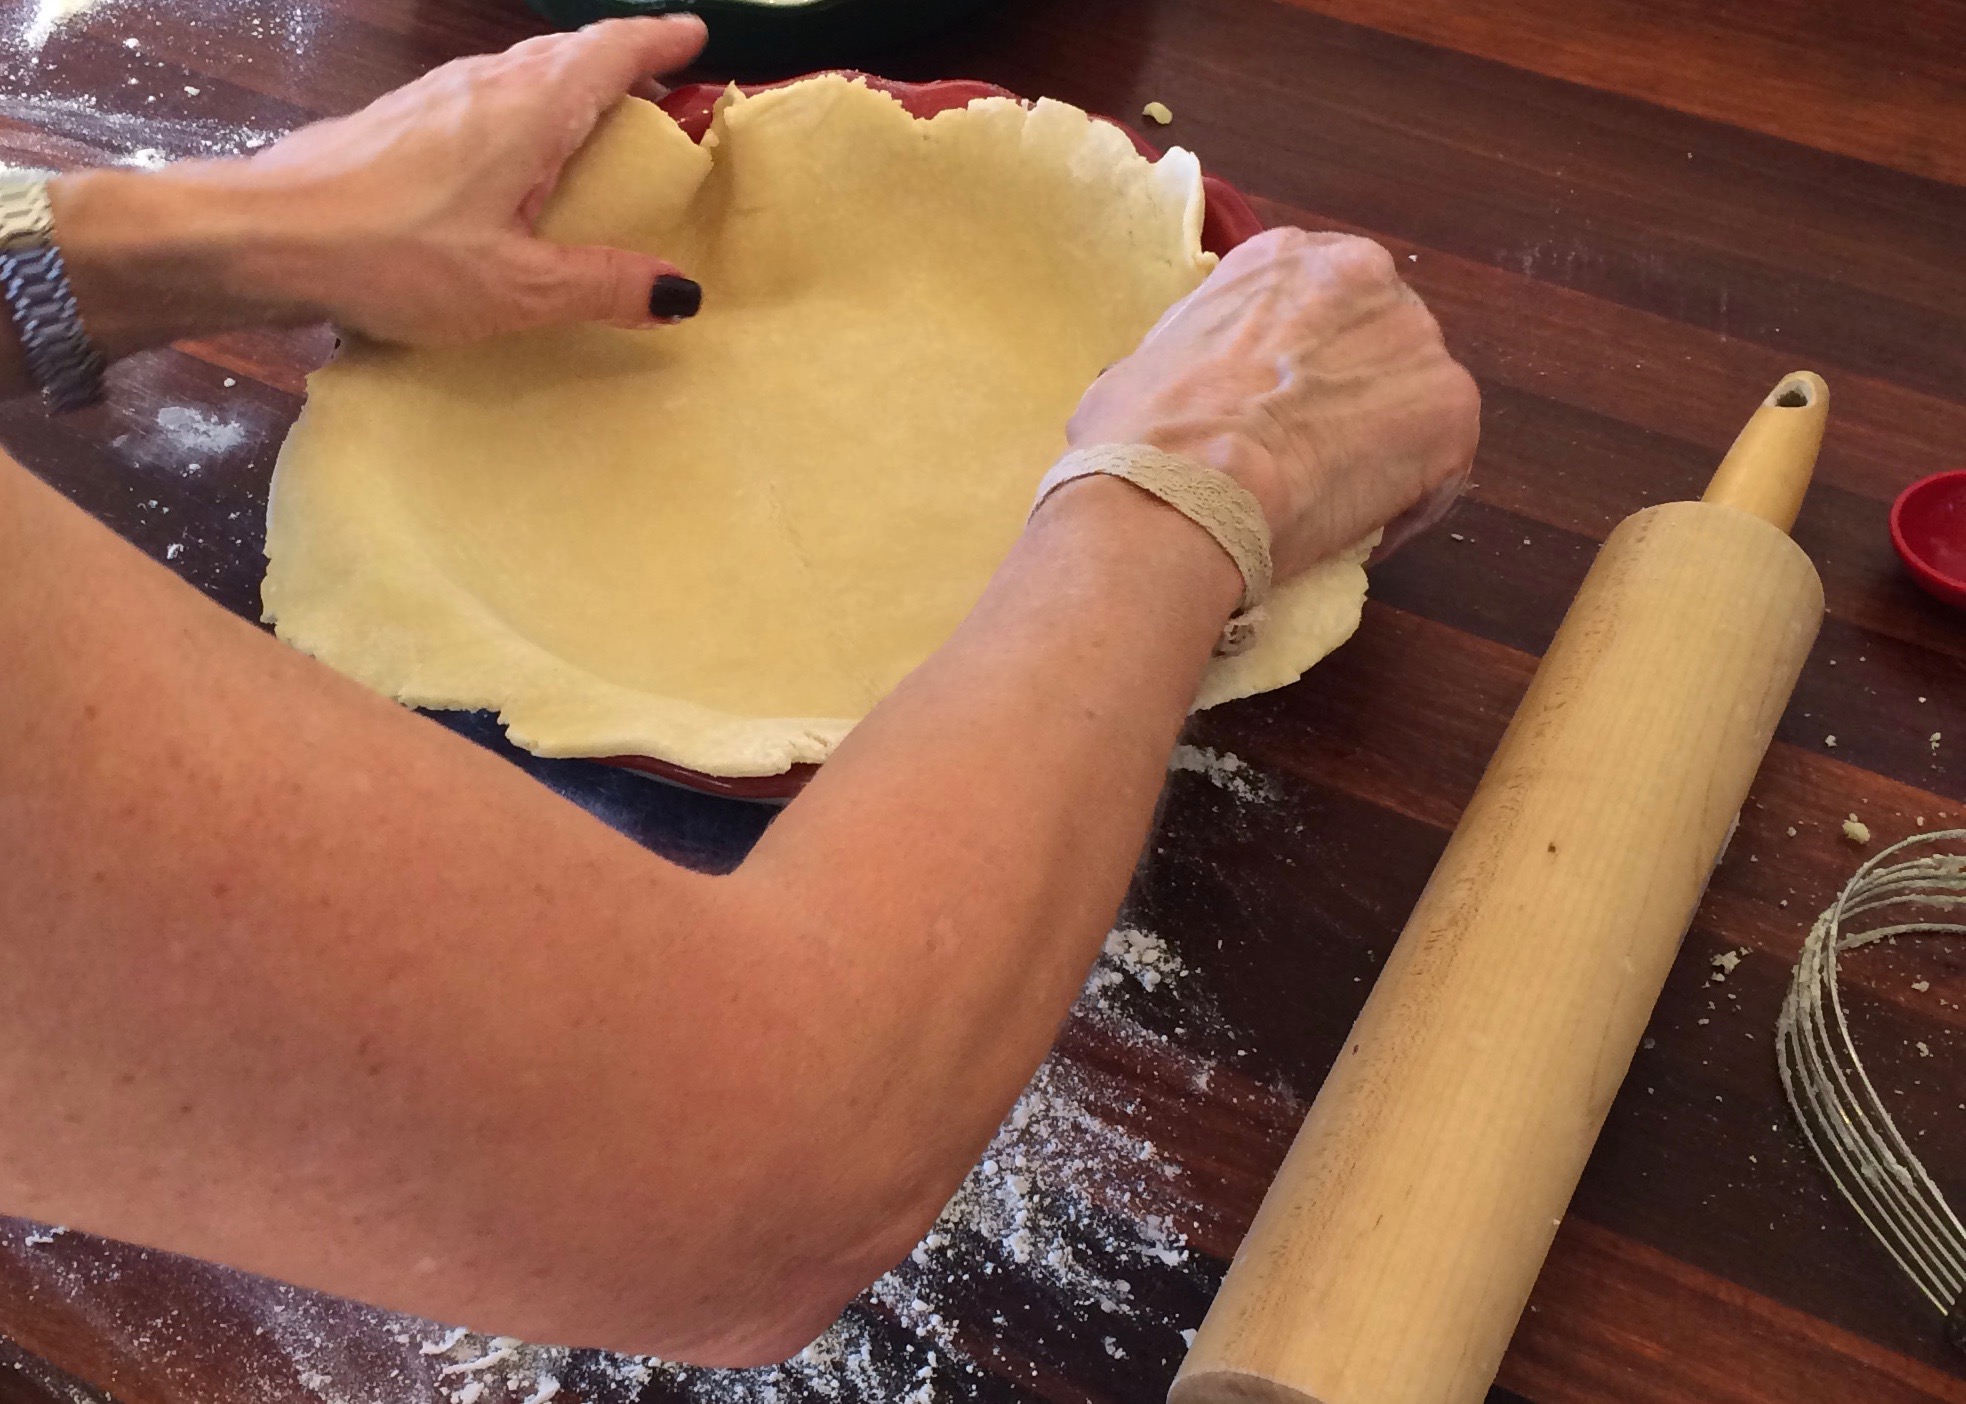
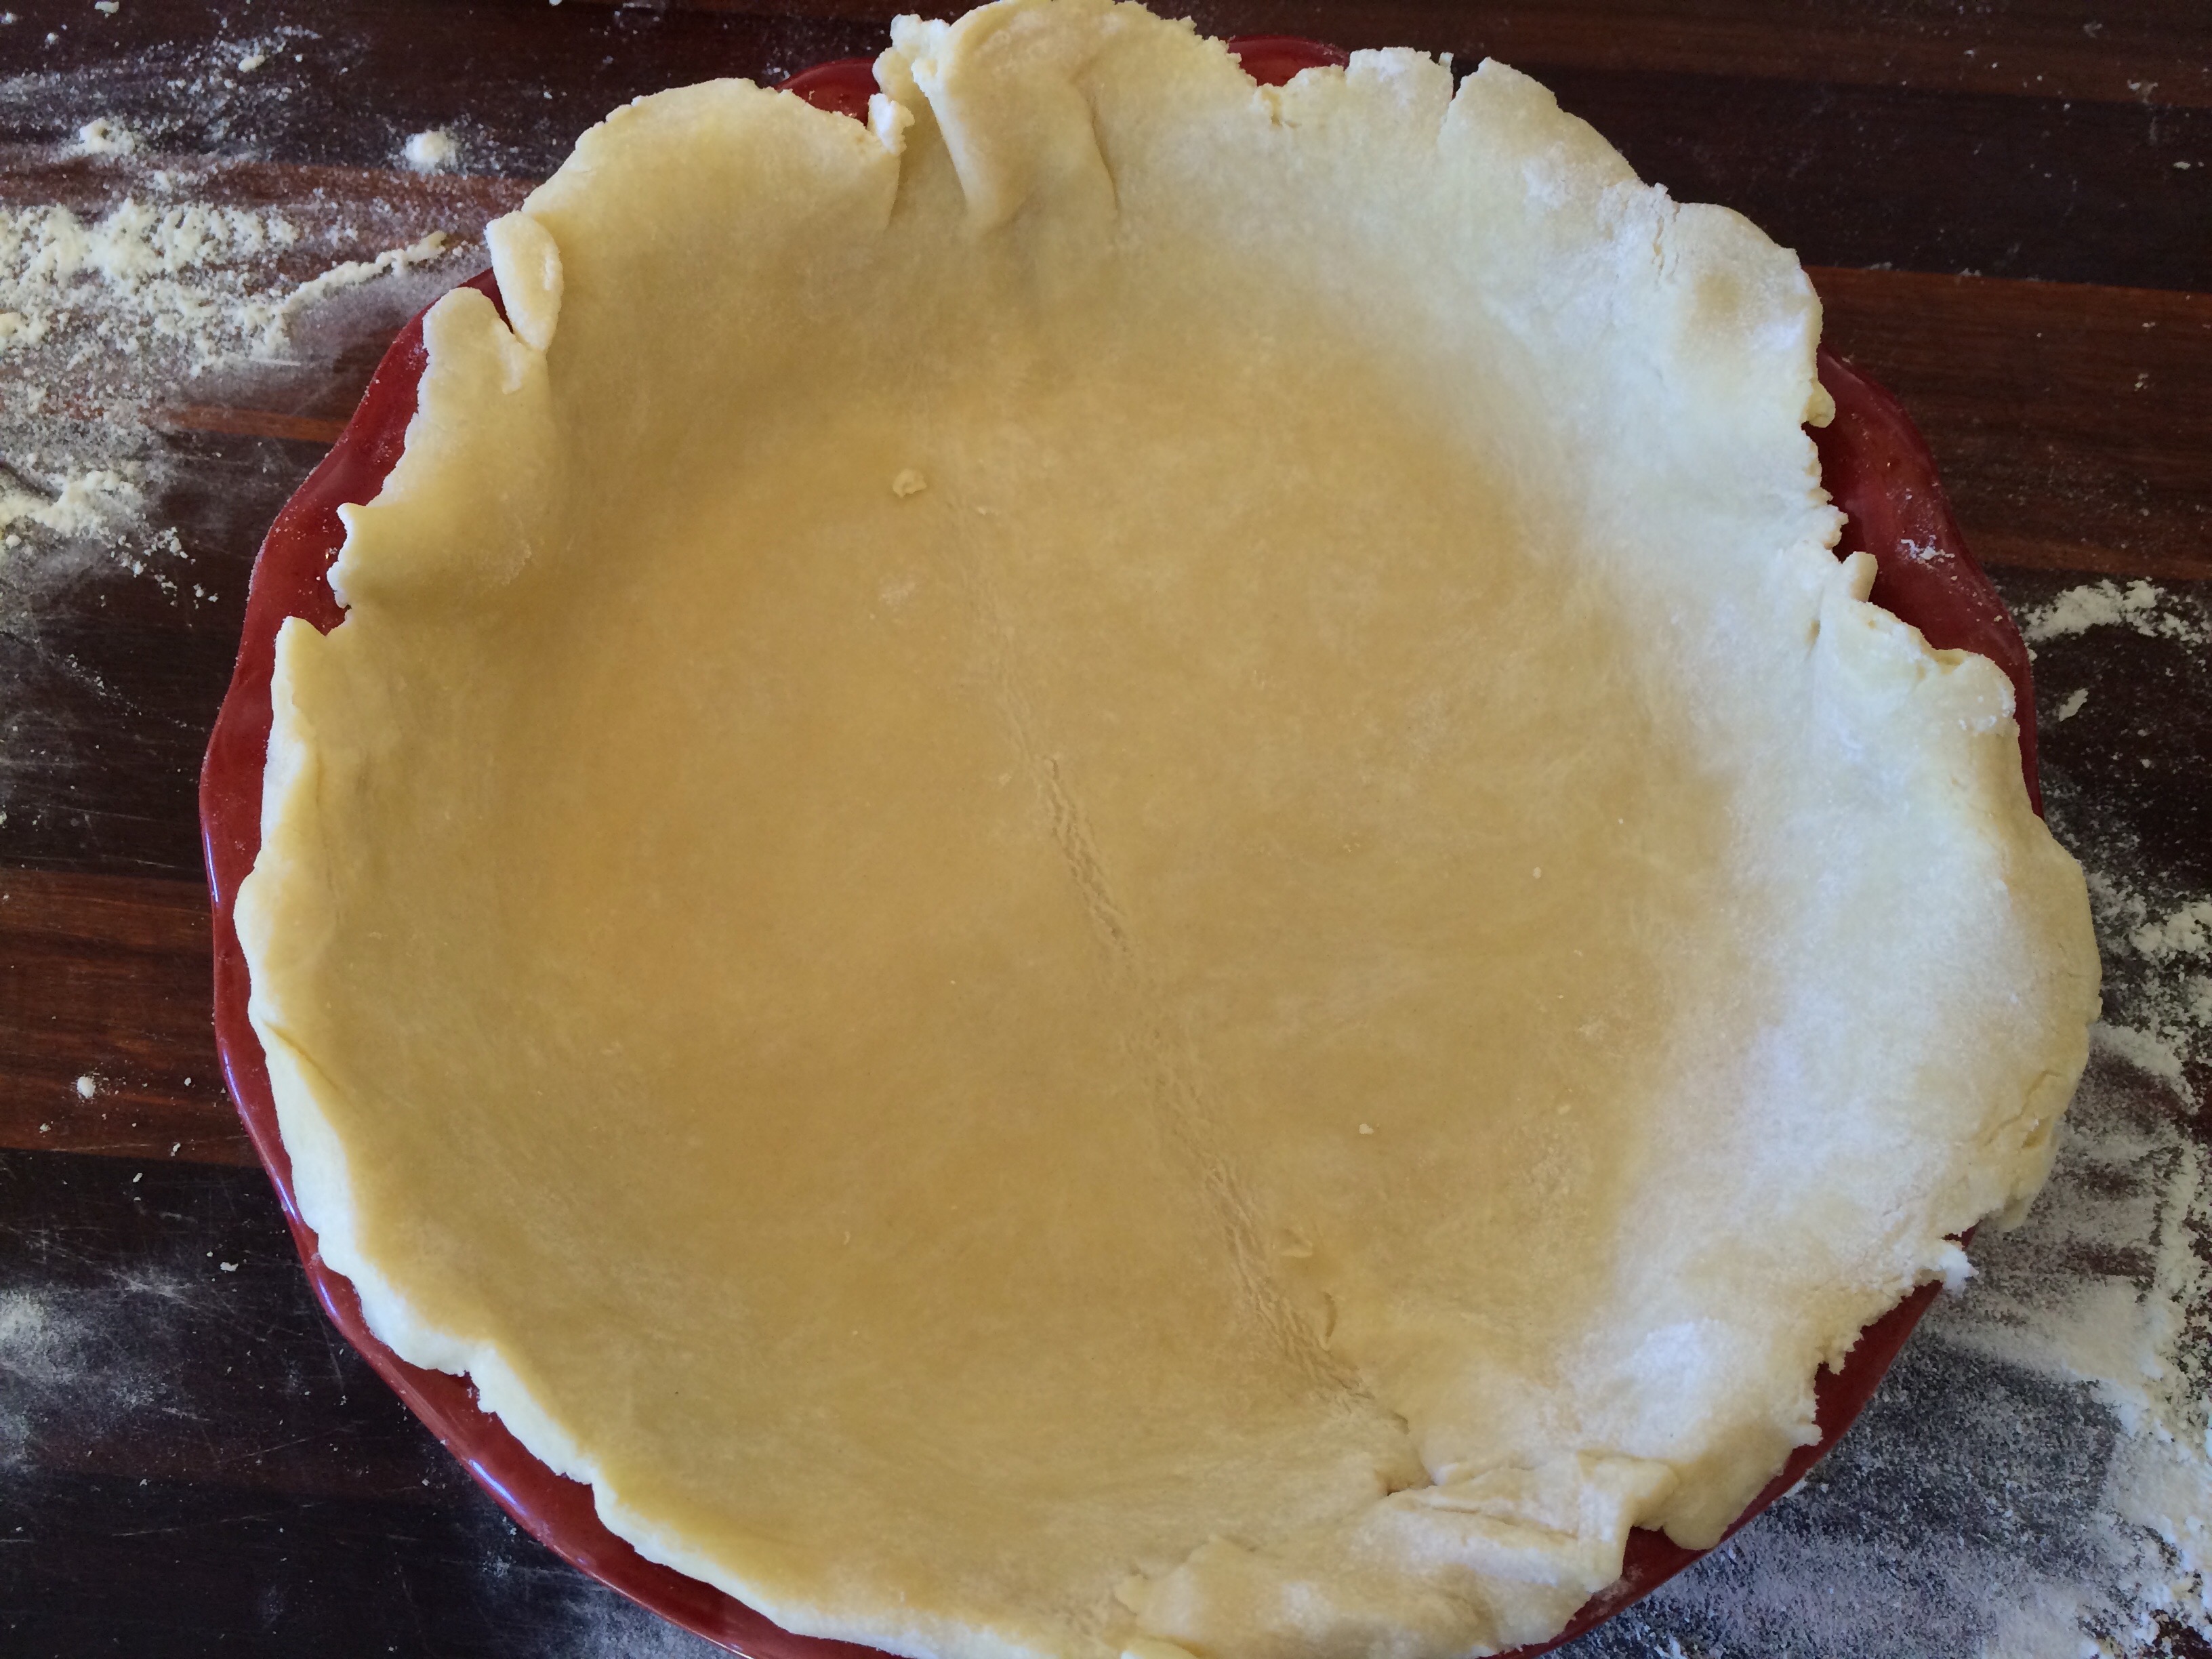
- Transfer the dough to the pie dish. Fold the rolled out dough round in half, and lift and gently fold it in in half again and then lift, place and unfold in the pie pan. Gently ease the dough into the pan, being careful not to stretch it, and press gently but firmly into the bottom of the pan and up the sides of the pie dish, so that the dough hugs the form of the pie plate.
- Use your fingertips to lovingly shape the edges in some appealing way. Use the warmth of your fingertips and possibly dabs of water and/or dustings of flour to create a nice finished edge on your crust. (If you are making a double crust pie, such as an apple pie with a traditional crust top, leave any extra crust as an overhang and wait until after you fill the pie and position the second dough round over the top to then shape the edging as desired). To flute the edges, hold the thumb and pointer finger on your non-dominant hand about an inch apart (fingertip pads facing each other) on the outside of the pie round and use the pointer finger and thumb of opposite hand on the inside of the dough edge. Press the index finger on the inside of the perimeter into the dough between the finger and thumb on outside of the round. You may use the inside thumb also to press into the dough, to begin the next scalloped curve as you move around the edge of the pie. (The result is the empty pie shell depicted in the vary last photo.)
- Refrigerate pie dough fully shaped in the pan until ready to bake.
*I prefer to hand mix my dough using a hand held pastry blender, available on line for $10-20, but if you prefer you can use an electric standing mixer, fitted with a paddle attachment.
NOTE ON PARTIALLY BAKED PIE CRUST: If you are making pumpkin pie, it is a good idea to partially bake the crust prior to filling it. To do so, place oven rack in lower third of oven and preheat to 375 degrees. Remove the pie crust from the fridge and cover with a piece of aluminum foil or parchment paper large enough to over hang the sides (two pieces crosswise may be necessary). Pat the foil or paper flat into the dough and add an ample layer of pie weights or raw short grained rice to weigh down the paper so that it is in continuous contact with the dough. This will help keep the crust from bubbling up or shrinking. Bake in 375 degree oven for 20 minutes, then lift edge of the paper to see if the dough appears wet. Check every 3-4 minutes until dough appears dry and looks to be pale gold. Total time to partially bake should be about 25-30 minutes. Set aside until ready to fill.
Here are some hopefully helpful photos below. Though I notice here that I did not follow my own instructions for the rolling out of the dough and thus one of my crusts gets very thin around the edges in the photo. You can just cut and move excess scraps to remedy this, using dabs of water and dusting of flour to adhere new dough section(s) where needed. May you enjoy your dough making!

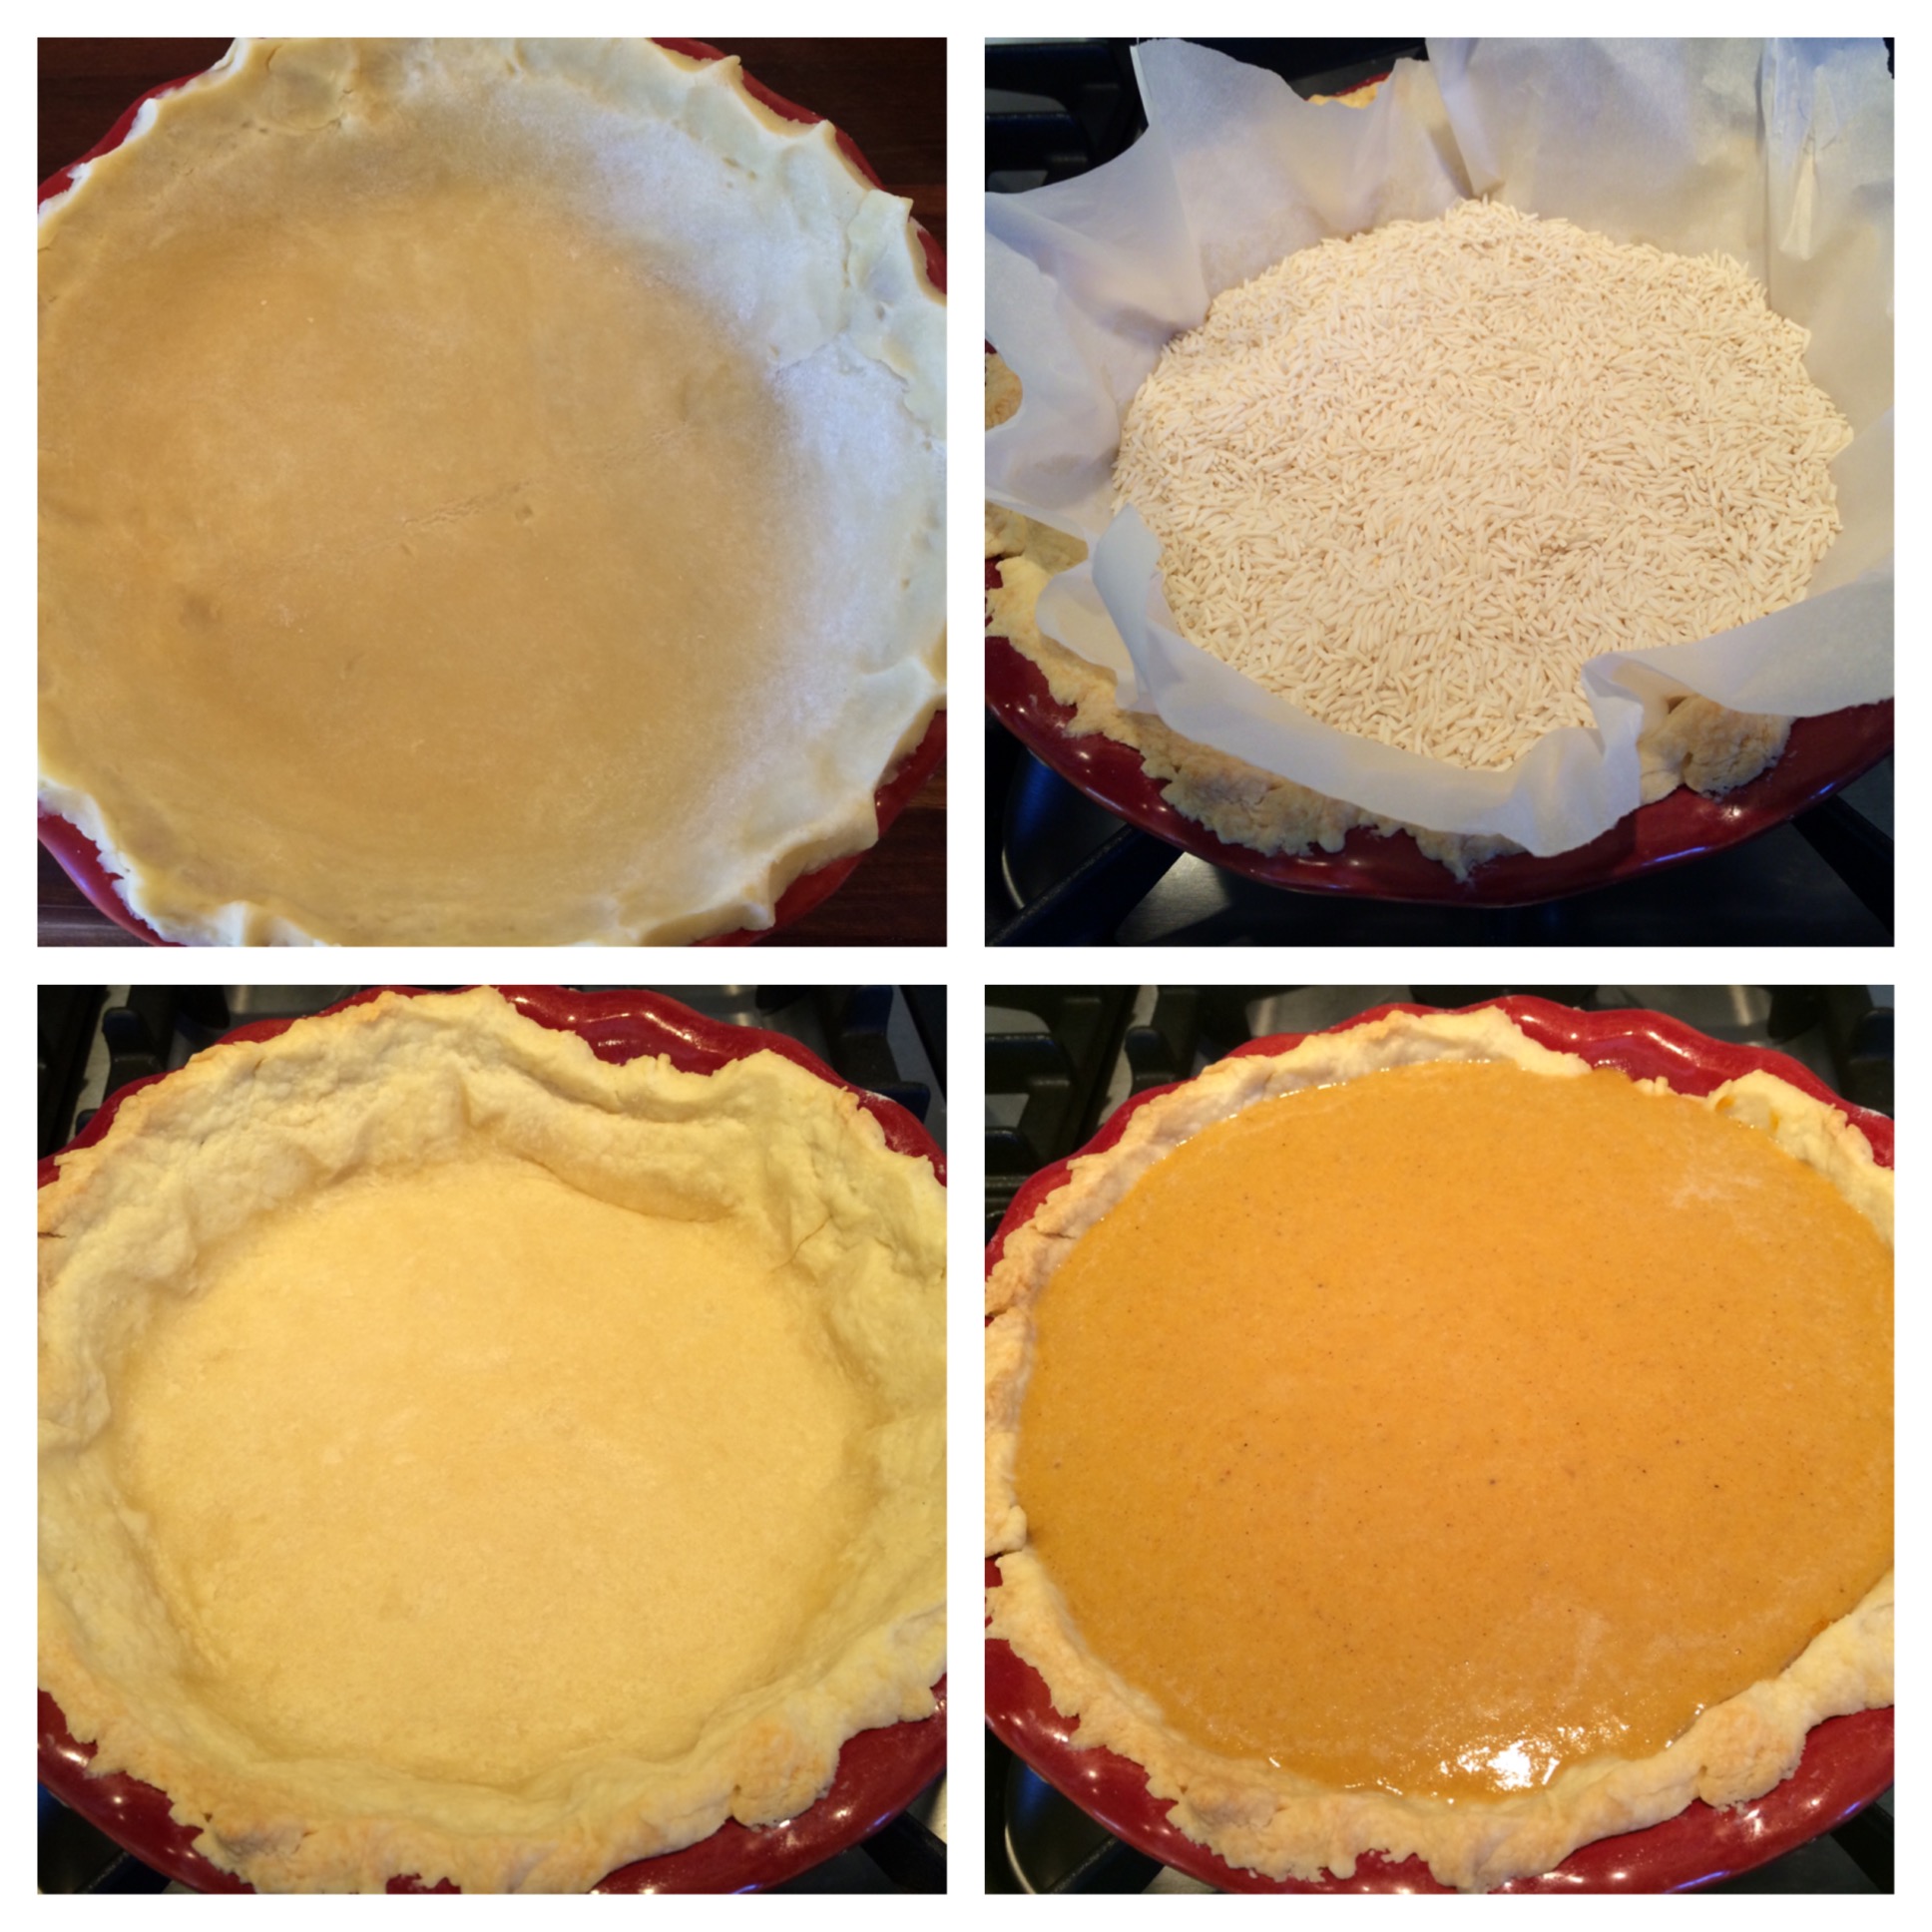

See my Pumpkin Spice Pie and Apple Pie with Crumble Top recipes to use these crusts. Yum!
